get tickets

Advance tickets are now available for visits through September 1. Book now

Download print-friendly PDF

Designed for kids and grown-ups to do together. Experiment with measuring, cooking, and color to create a vibrant result.

This activity involves the use of a hot stovetop.

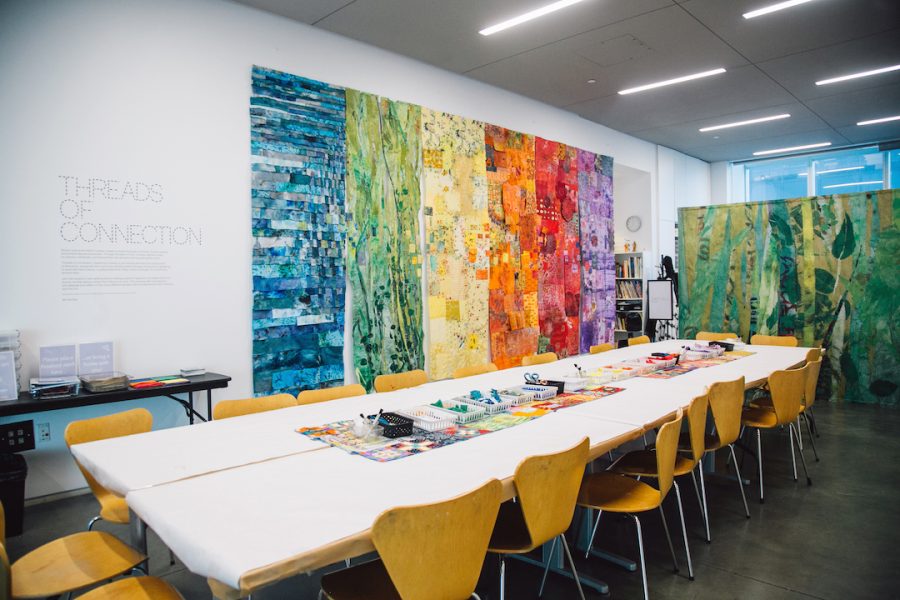
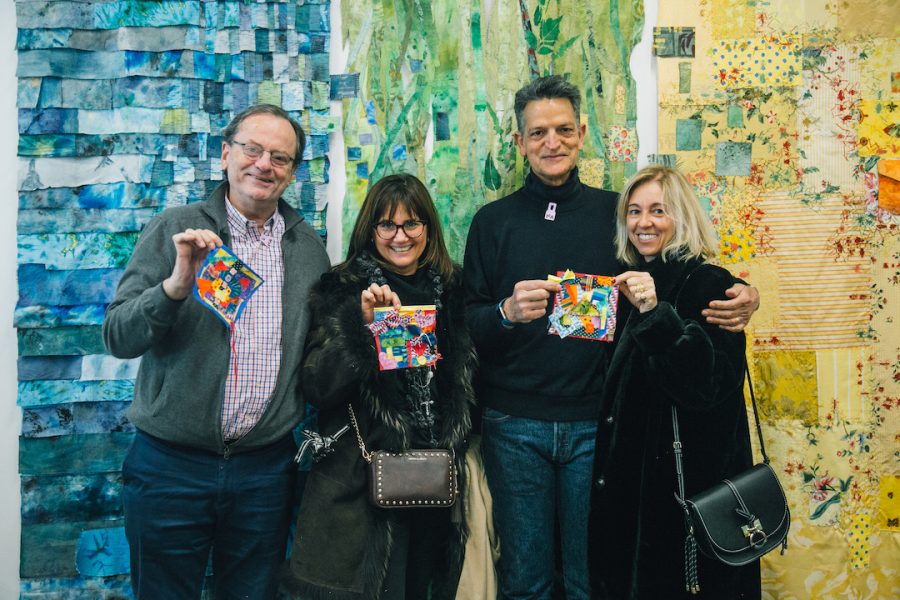
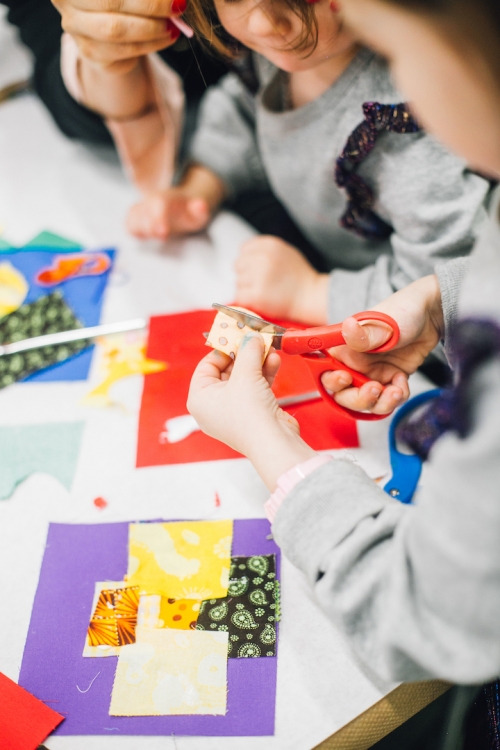
We’re excited to welcome artist Merill Comeau as a guest contributor for this week’s Art Lab at Home! Merill is the mixed-media fiber artist behind the current Bank of America Art Lab installation Threads of Connection. We welcome you to try eco-dyeing: The process of adding color to fabrics using plant matter. This is a fun way to reuse and recycle supplies you have on hand, like old fabrics, leftover veggies and fruit, and even coffee grounds!

You will need:

A white button-shirt, light-colored fabric, and a white pillowcase.

  • Newspaper or plastic to protect your work surface from stains
  • Salt or white vinegar (which will be added to water to create your mordant)
  • A non-reactive pan such as an aluminum saucepan (If possible, dedicate a pan just for dyeing to be sure no substances are crossing over into your food preparation later. Merill used an old metal dog bowl!)
  • Tongs or wooden spoon
  •  Soaking bucket and/or bowls (you can also soak directly in your pan)
  • Plant sources for color: Old berries, yellow vegetable peelings, onion skins, turmeric, beets, purple cabbage, tea, or coffee — Experiment!
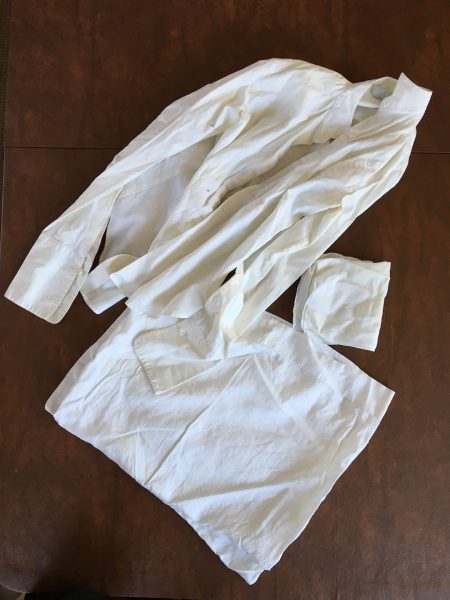
  • Pre-washed white or light-colored cotton fabric cut into squares approximately 8×8 inches. Possible sources include recycling old pillowcases, blouses or men’s shirts, hankies or napkins.

Steps:

1. Prepare your fabric. You will need to treat your fabric with a mordant to help the dye to adhere to your fabric. To create and use your mordant:

  • If you are using berries, combine ¼ cup of salt with four cups cold water.
  • For other plant materials, Combine 1 cup vinegar with four cups cold water.
  • Soak your fabric in mordant for one hour.
  • Remove and rinse your fabric with cold water. You don’t need to dry it as you can dye it damp!
     

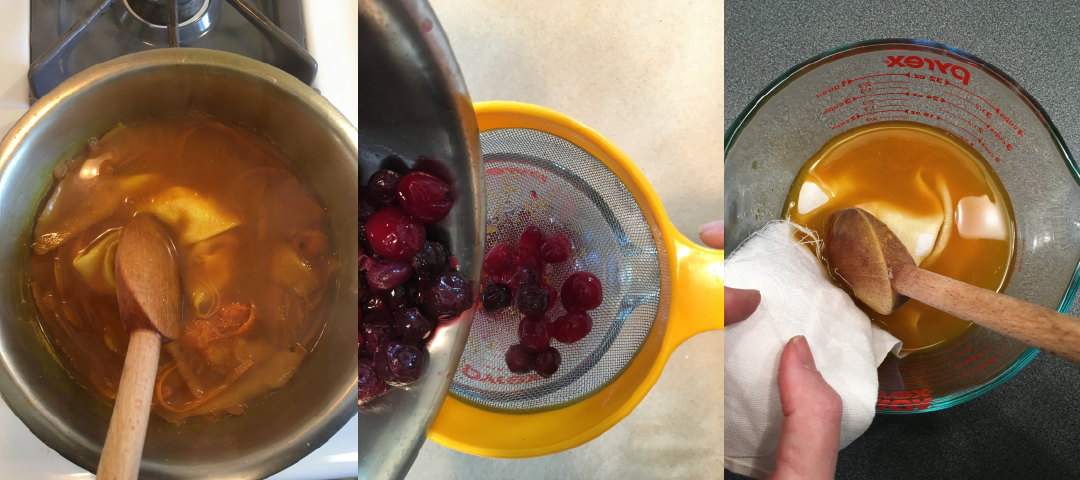
2. Prepare your dye. Generally, you’ll want to add 1 cup of plant material to 2 cups of water in your non-reactive pan. Feel free to experiment depending on what you have on hand! Bring your concoction to a slow simmer on your stove top. If your kitchen has a vent fan, use it to remove steam. You will see the water becoming colorful in just 20-30 minutes.

Plants and fruits in a saucepan filled with water.

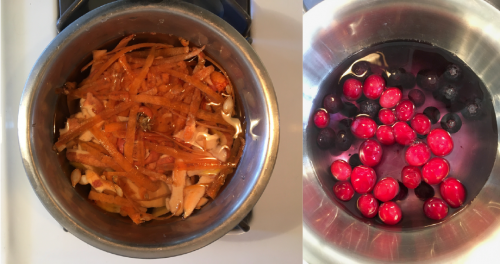
3. Add the fabric to the dye. You can either strain and discard the plant materials and then add your fabric to the remaining dye solution or add your fabric directly to the simmering pot (Merill likes to add her fabric to the pot believing the heat helps set the stain).

Three panels of images depicting a step-by-step guide of dyeing fabric from a plant-based solution.

Two pieces of beautifully-colored fabric in yellow and purple.

4. Soak your fabric. Remove your fabric after one hour or keep it soaking overnight as the dye sets and cools. Experiment with soaking times and see if your results differ!

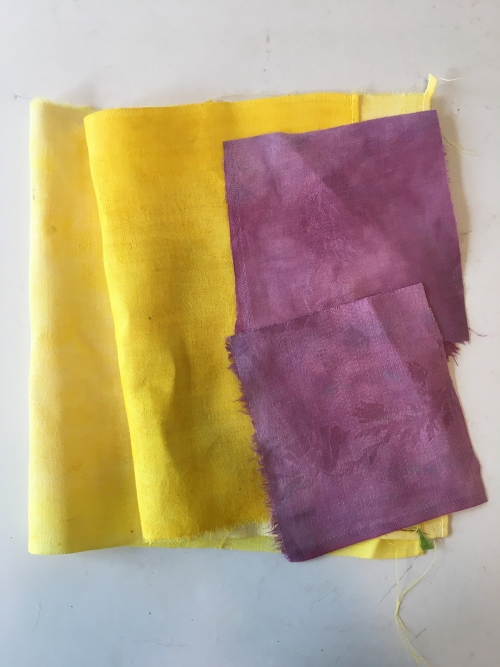
5. Rinse your fabric with cold water and let it air dry. If you’d like, you may iron your fabric on the cotton heat setting. 

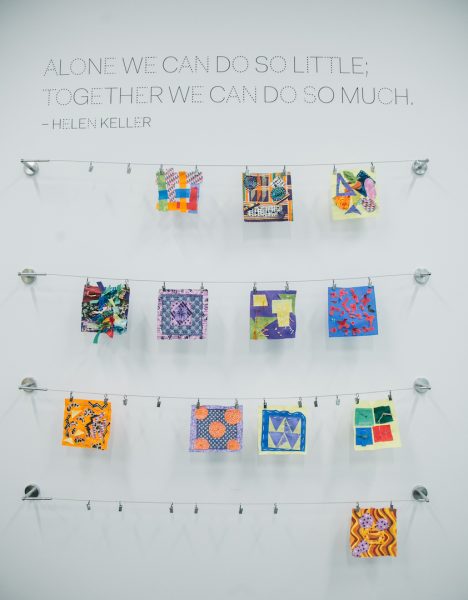
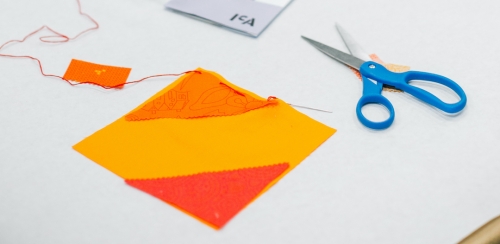
6. Are you ready to make something with your unique eco-dyed fabric? Check out this site for simple hand sewing instructions and ideas for things to make can be found here.  Or create a fabric collage for the Threads of Connections digital quilt!

Download print-friendly PDF

This activity is ideal for ages 6+ and great for children and adults to work on together.

Inspired by Roni Horn’s artwork, Key and Cue, No. 288, we’re celebrating National Poetry Month and are inviting you to write an ode to someone you care about! An ode is a poem that praises someone and is one of the oldest types of poems that exist. Reflect on the person you choose, answer the questions, fill in the blanks, and deliver your completed poem to make your special person smile!

You will need:

  • A writing utensil
  • Paper or print out a copy of our template
     

Steps

1

Decide who you will write your ode to. Choose someone you love or care about, someone to cheer up today!

ART-LAB_SLOWARTDAY_Step_04.png

Icon of frame with question mark in it

2

Answer the questions below. Add your answers into the template to complete your ode.

3

Share your ode with your special person!  Take a photo to share it or read it aloud. You’re bound to make them smile!

Smiley face icon


Questions to help write your ode:

  1. What is the name of the person you have chosen to write your ode about? (Nicknames are okay too!)
  2. What makes this person stand out in a crowd? Be specific.
  3. What is a phrase they always say?
  4. Write down a favorite moment shared with this person. “A time when we…”
  5. What is this person’s best quality? Think beyond physical traits, and focus on personality qualities. This should be a noun, like “kindness”, “excitement”, or “patience”.
  6. If you could go anywhere together, where would you go? Be specific.
  7. If you could do anything together, what would you do? This should be a verb, like “sunbathe” or “walk”.

Fill out your ode

ICAartlab_ODE_template.png

This activity was created by Flolynda Jean, Education Assistant, and Brooke Scibelli, Family and Art Lab Programs Coordinator.

Download printer-friendly PDF

Designed in mind for kids and adults (ages 6 and up). Patience and the ability to draw the same image repeatedly are key here.

We’ve been making flip books during Play Dates, our monthly family program,  for nearly a decade! We keep making them because they’re fun, simple, and  who doesn’t love seeing their drawings in motion? In thinking back to our 2018  exhibition William Forsythe: Choreographic Objects, we thought it’d be a great  DIY activity to blend art and movement.


Activity supplies on a wood table which includes index cards, letter size paper, pen, scissors, and a binder clip.

You will need:

  • At least 13 Index cards, or other thick paper like cardstock
  • A separate piece of paper
  • Pencil or pen
  • Scissors
  • Binder clip or rubber band
  • A window, or some other light-up surface
     

1

Cut your index cards in half so that you have a total of at least 26 cards. (We’ve found that the best flip books have at least 25 pages.) If you’re using another kind of paper, make sure each card is the same size, roughly around 4×3 inches.

Art-Lab_Flip-Book_CUT.png


Art-Lab_Flip-Book_PLAN.png

2

Plan out your flip book on your separate piece of paper. What scene do you want to create? How will it start? How will it end? Remember, simple images (hello stick figures!) can make the best flip books. Also, because we will be binding the left side of the book, it’s best to only draw on the right side of each card as that will be the space that’s visible when you flip your book.

3

Draw your first scene on your first card.


Art-Lab_Flip-Book_DRAW.png

Art-Lab_Flip-Book_DRAW_2.png

4

Continue drawing the rest of your scenes. Hold up your cards to a window to help you trace elements of your drawing (see example). In order for your drawing to move realistically, you will need to place objects and figures in the same place on each page. Each card should show progression from your first scene to the last scene.


5

Put your cards in order and secure them together with a clip or rubber band. It may be helpful to number your cards as you go to make sure they stay in order.

Art-Lab_Flip-Book_TOGETHER.png


Art-Lab_Flip-Book_FINISHED.png


6

Enjoy your moving image! Holding your book with your left hand, use your right thumb to flip your pages. A little bit of practice will help you get the timing and rhythm of your flip just right.

This activity was created by Art Lab staff and Jessie Magyar, School and Family Programs Manager.

Download PDF

Virtual Quilt

This activity is adaptable for beginners to experts. Please note that this project involves using scissors to cut fabric and/or paper. Great for individuals, groups, and families to work on together at home!

Inspired by Merill Comeau and her current Art Lab installation Threads of Connection, we’re excited to continue our community quilt in this digital space. You’re invited to create your own quilt square that represents who you are. What makes you special? What do you love about your community? What are you proud of? What do you believe in? Submit your finished quilt square for the chance to be featured in our virtual quilt and help us build community while we’re all apart!

You will need:

  • Scrap fabric, paper, or recycled materials. See more below about material options.
  • Scissors
  • Glue or tape (optional)
  • Camera (optional)

Construction & material options:

  • Fabric: Use scrap fabric for backgrounds and collage details. Look around your house for some scrap fabric or old clothes that you have permission to cut up and use.
  • Paper: Use different kinds of paper for your backgrounds and collage details. Look around your house for scrap or recycled paper, cardboard, cereal boxes, old birthday cards, or newspaper— all of which have different colors and textures and can be great for art-making. If you have a printer, you can download + print our digi-fabric swatch to cut and collage with. Download now
  • Digital: Are you a digital expert? Feel free to submit a quilt square made completely digitally using software or tools of your choice. Get creative!
  • Do you have another idea? Go for it! Be inventive and use what’s around you. Keep in mind if you would like to be featured on the website, you will need to submit a photograph or digital file showing your quilt square from above.

Step-by-step:
 

1. Make your background

Create a square background with the materials available to you. The length and width of your background should be equal to make a perfect square. We’ve been working on a 6” x 6” square, but you’re welcome to work larger or smaller.

2. Cut & collage

Collect your collage materials and brainstorm your design. Cutting custom shapes and using different colors and patterns can help visualize your ideas. Layering is encouraged! Will your design be representational or abstract? How will you cut your materials to make details and designs? How will you place cut pieces onto your background to convey your message? Get creative! There’s no wrong way to collage.

3. Finalize

Once you have your design laid out, glue or tape down your collage materials to keep everything in place. If you don’t have glue or tape you can just lay out your design on a flat surface for taking your submission photo.

A piece of orange fabric square next to a pair of scissors on a table.

If you’re inspired to use other materials, or maybe you’re an expert at other skills like sewing or embroidery, try incorporating them here. Try to keep your design within the edges of your square so we can connect your square next to others!

A colorful square contribution posted on Instagram on an iPhone


4. Take your submission photo! Because we’re all practicing social distancing, we’ll be displaying the community quilt digitally for everyone to view from home. Find a sunny spot or brightly lit place in your home or outside. Lay your quilt square on a flat surface that is a solid background and take a photo from above.

Two youths working on their art project at a table while one is cutting a piece of fabric.

A decorated fabric quilt square sitting on a lawn chair outside on a porch.

 5. Submit your photo

Post your finished quilt square on social media with #ICAartlab or email it to FamilyPrograms@icaboston.org for a chance to be featured on our website! 

This activity was created by artist Merill Comeau and Brooke Scibelli, Family and Art Labs Program Coordinator.

Download print-friendly PDF

Great for kids and adults to make together, ideal for ages 5+.

Make your own paper tentacles inspired by Yayoi Kusama’s LOVE IS CALLING. Explore themes of fear and love with your family, through mark-making and simple sculpture building. You’ll need 2 sheets of paper per tentacle, scissors, and some mark-making tools like a pencil, markers, or crayons. Oil pastels and black cardstock paper are used in the examples below.

1. Trace + Cut

ART LAB_trace cut_instructions.jpg

ART LAB_trace cut_step 1.jpg

ART LAB_trace cut_step 2.jpg

ART LAB_trace cut_step 3 template.jpg

Cut a slit halfway into each tentacle, one from the top and one from the bottom.

2. Assemble

ART LAB_assemble (banner).jpg

ART LAB_assemble_01.jpg

3. Decorate!


4. Optional finishings!

5. Share your creations!

Hooray! You’re all done. Post your work of art on social media (follow us on Instagram, Facebook, + Twitter) and tag #ICAartlab to share with us!

This activity was created by Brooke Scibelli, Family and Art Lab Programs Coordinator.