Thank you for joining our first-ever virtual Play Date!
During these trying times, we’re thinking about self-care, flexibility and taking care of each other. In partnership with the Boston Children’s Museum, we’re offering a selection of self-guided activities to explore on your own time, on- and off-the-screen as you engage and create together. All activities are designed for adults and children to participate in together. Explore, play, make, and learn together!
If you participated in a live workshop or a self-guided activity, we’d love to hear from you! Your feedback is deeply appreciated. Take survey
Your support helps keeps programs like this – both virtual and in-person – free and accessible in this time of uncertainty. If you are able, please consider becoming a member or making a one-time gift to support the ICA.
Explore!
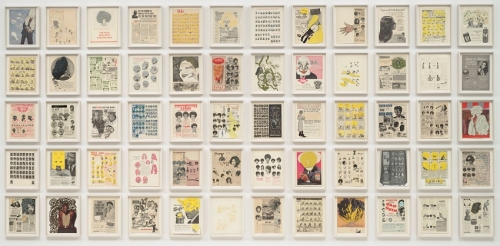
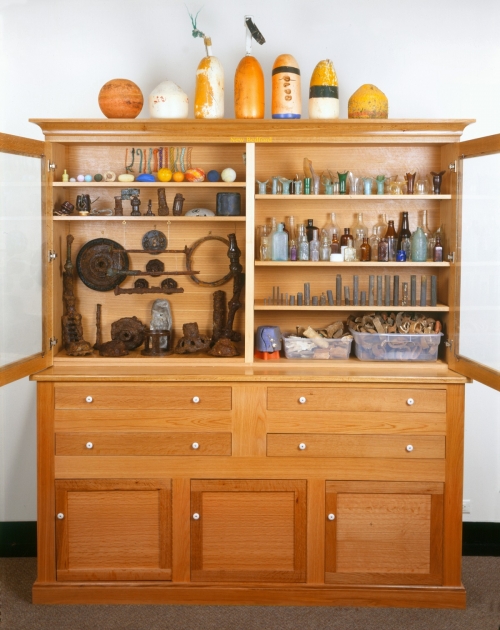
Mark Dion, New Bedford Cabinet, 2001. Wooden and glass cabinet and dig finds, 104 × 74 × 19 inches (264.2 × 188 × 48.3 cm). General Acquisition Fund. Courtesy the artist and Tanya Bonakdar Gallery, New York. © Mark Dion
Art-Inspired Scavanger Hunt
How many things can you find in our scavenger hunt? Inspired by artworks from the ICA’s collection, we invite you to look around your space, out your window, or during a socially-distanced neighborhood walk with your family. Your adventure awaits
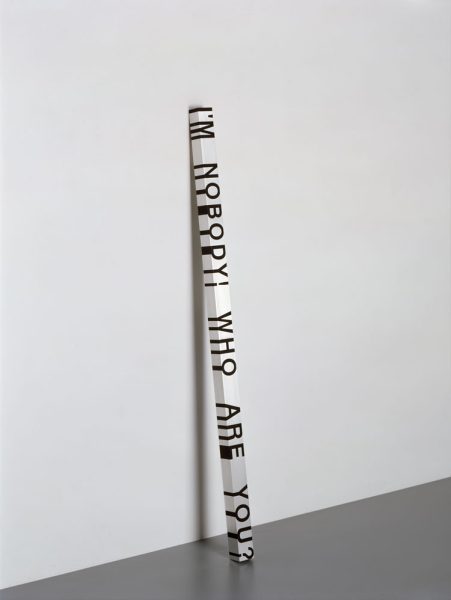
A Closer Look
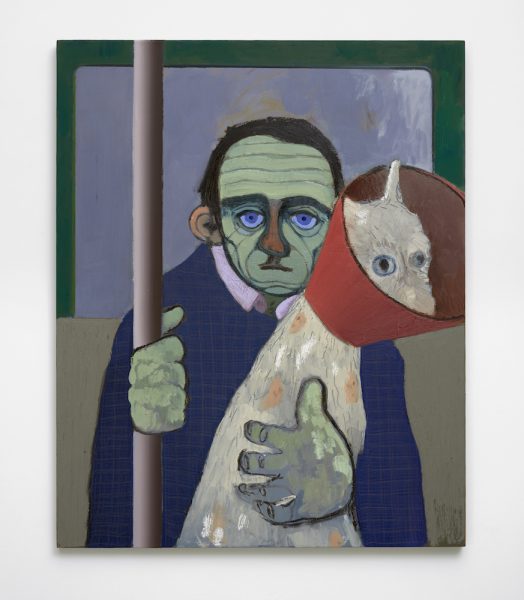
The average museum visitor spends less than twenty seconds looking at any given work of art. For this activity, Tour Programs Manager Amy Briggs Kemeza (and Lucy!) asks you to take a pause and spend some time looking at Sanya Kantarovsky’s Violet — from home! Follow along and answer the prompts in the video, reflect on what you see, and get inspired to make your own work of art.
Relax
Family Fun Yoga
Boston-based yoga teacher Marlene Boyette invited participants for a live family-friendly yoga session on Zoom. Stretch your body and your mind with these easy fun poses and meditative flow. Great for children and adults to try out together!
Play!
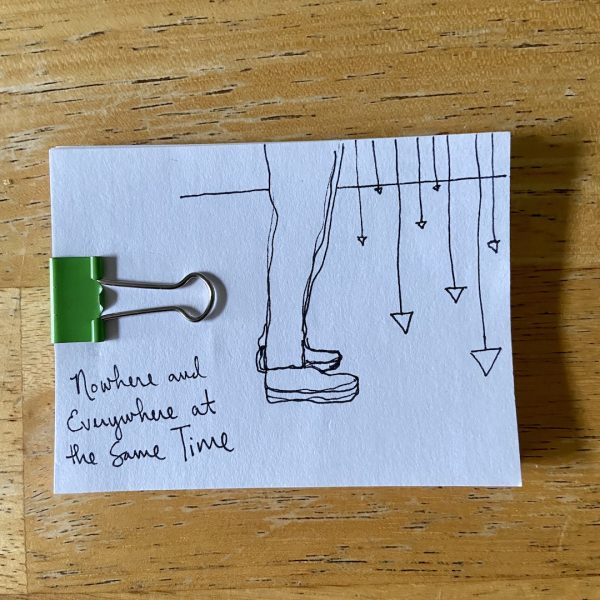
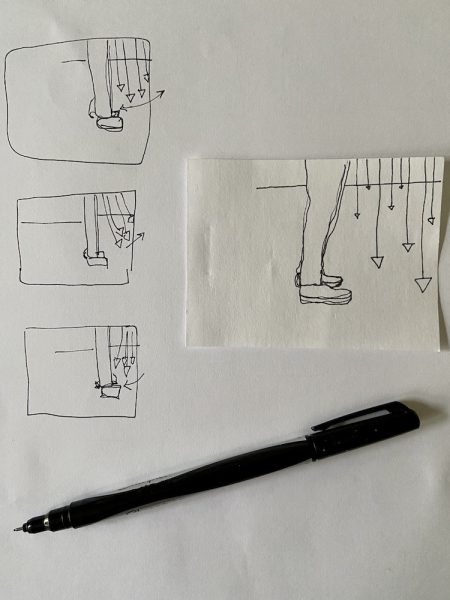
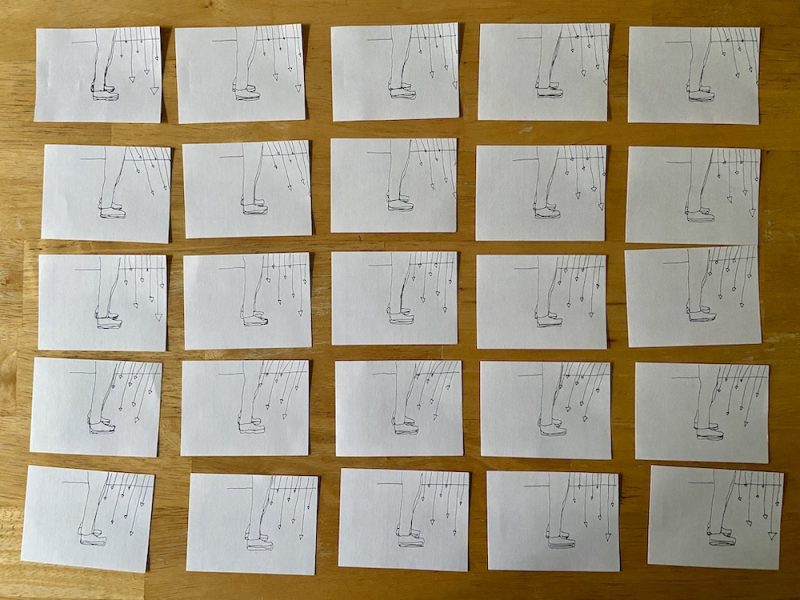
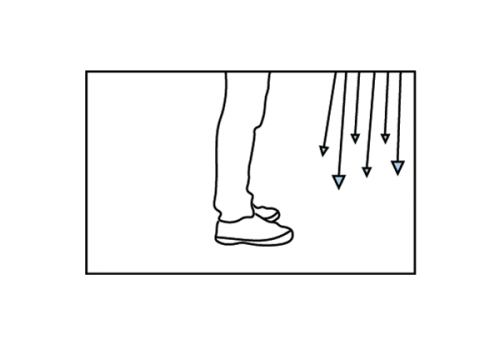
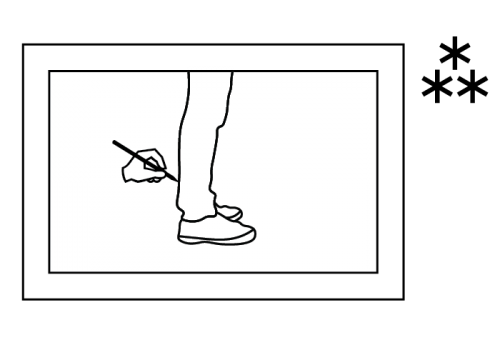
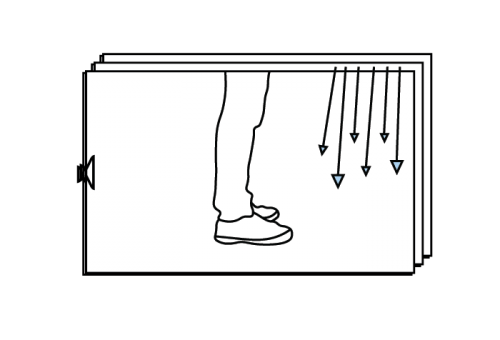
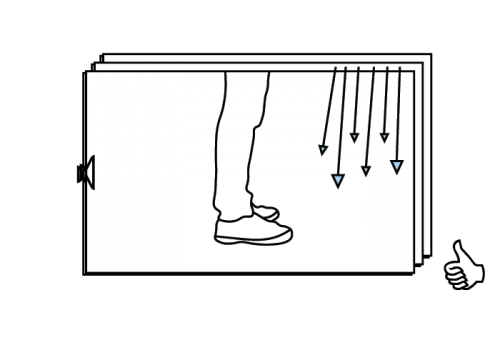
Line Walk Challenge
Staying inside can lead to a lot of pent-up energy — especially for kids! Boston Children’s Museum Health and Wellness Educator Saki Iwamoto is demonstrating the Line Walk Challenge (At Home!) to help you and your kids get some exercise indoors while having fun. Try it at your house!
The Gottabees (from Home!)
Watch this live replay from Boston-based theater group and play experts The Gottabees, as they lead an interactive movement-based activities. Shake it up and get ready to laugh! Great for children and adults to try out together.
Make!
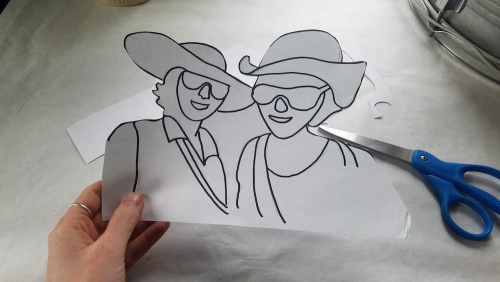
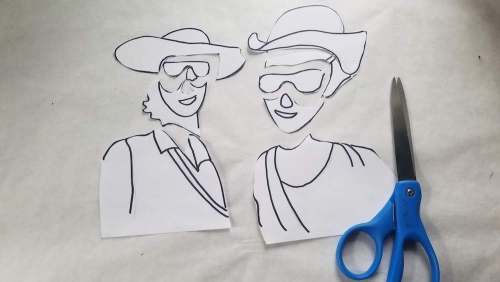
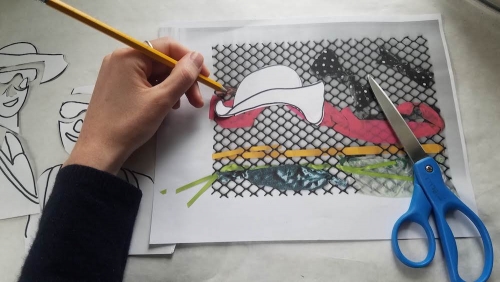
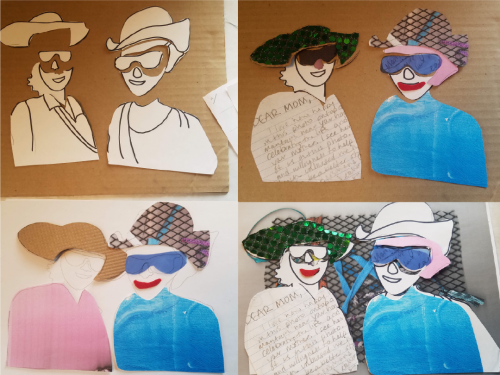
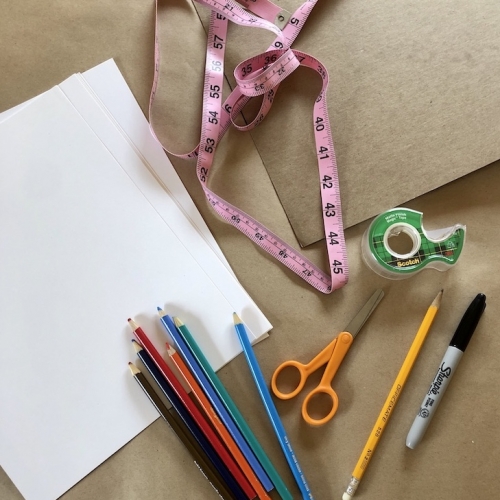
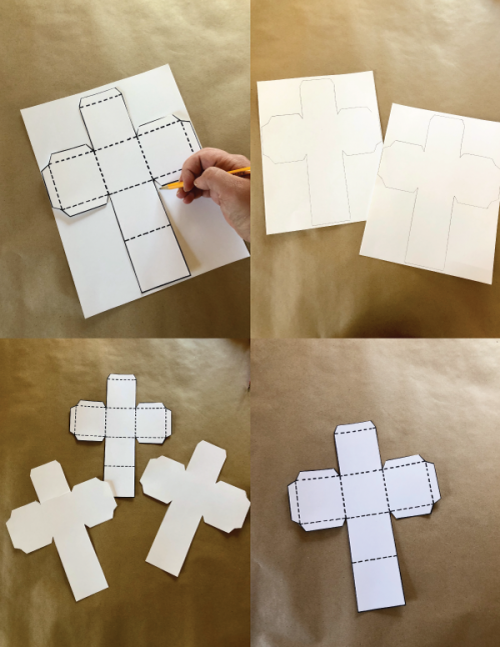
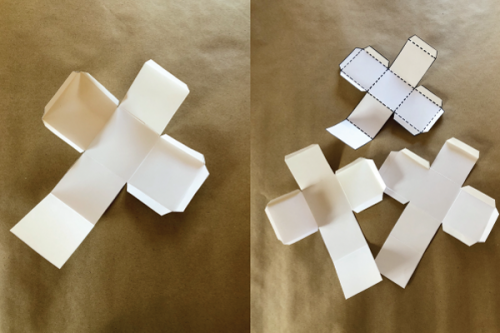
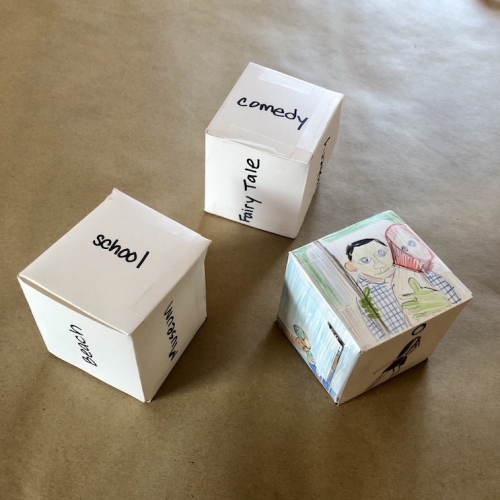
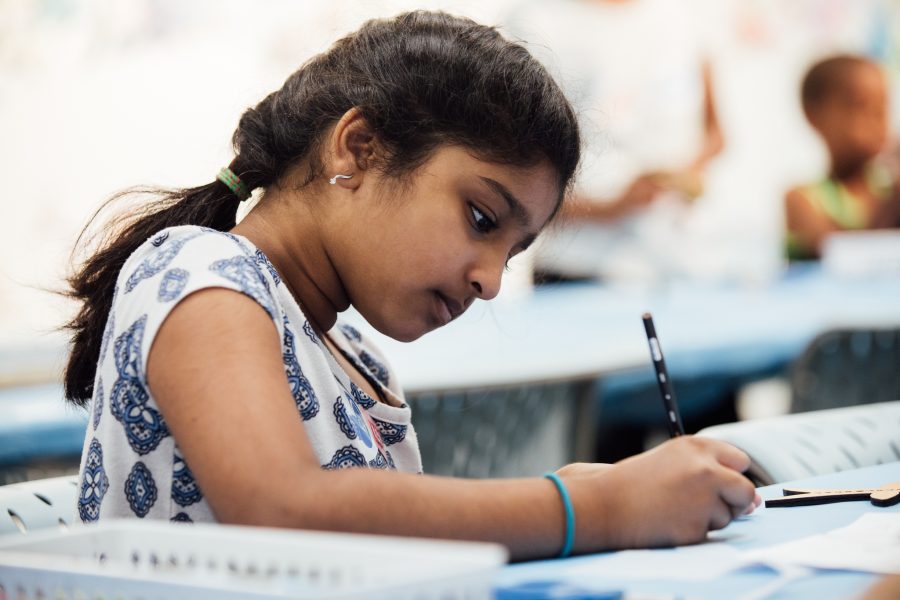
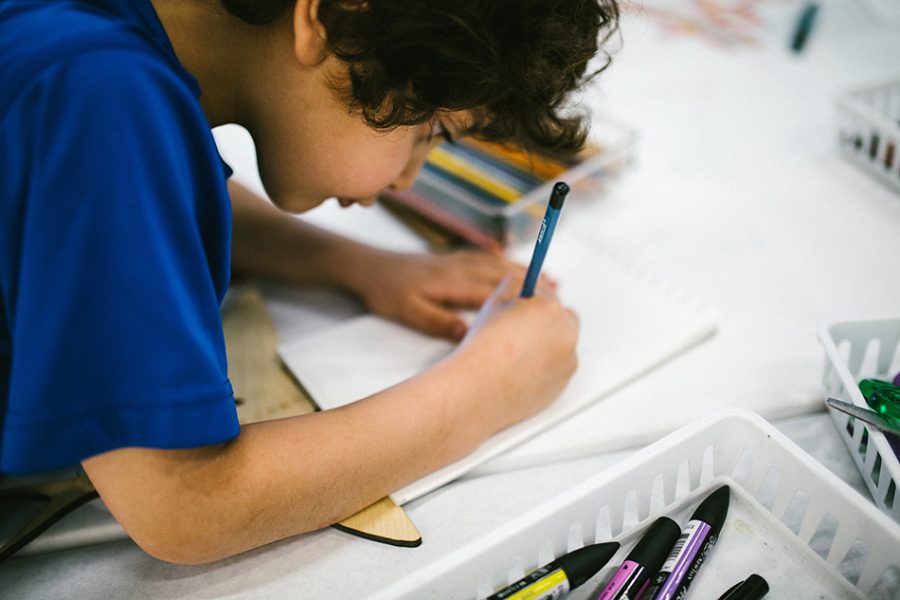
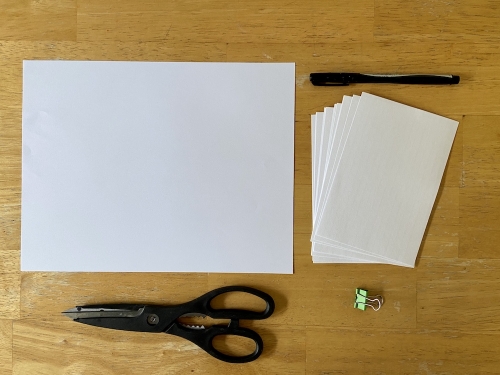
Making the Cut
Flolynda Jean, Education Assistant at the ICA and freelance illustrator, shows you one way to bring your stories to life through fun, quirky, and colorful character cut-outs! Follow these simple steps — and as an added bonus — you can turn them into shadow puppets! Do you have a story to tell? Who are the characters? Let your imagination come alive and share them with friends and families!
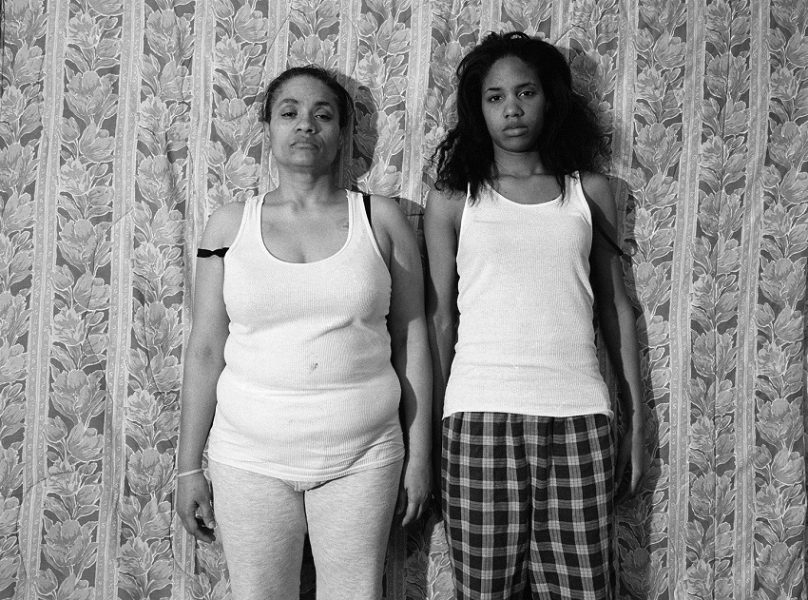
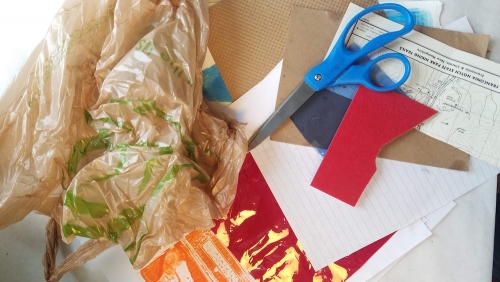
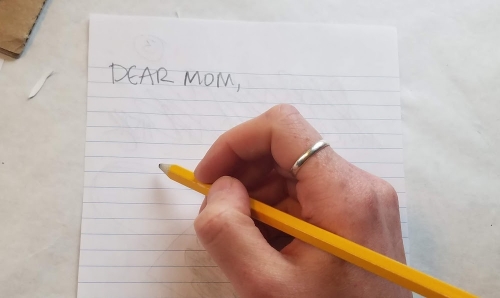
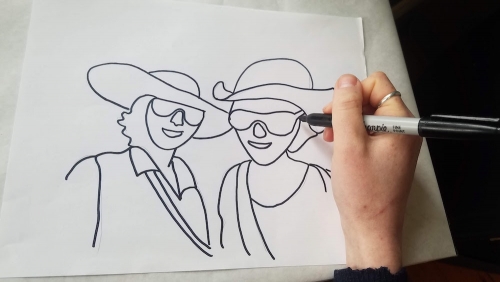
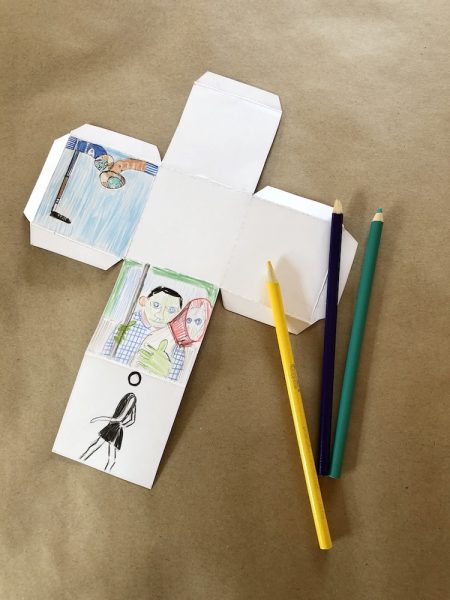
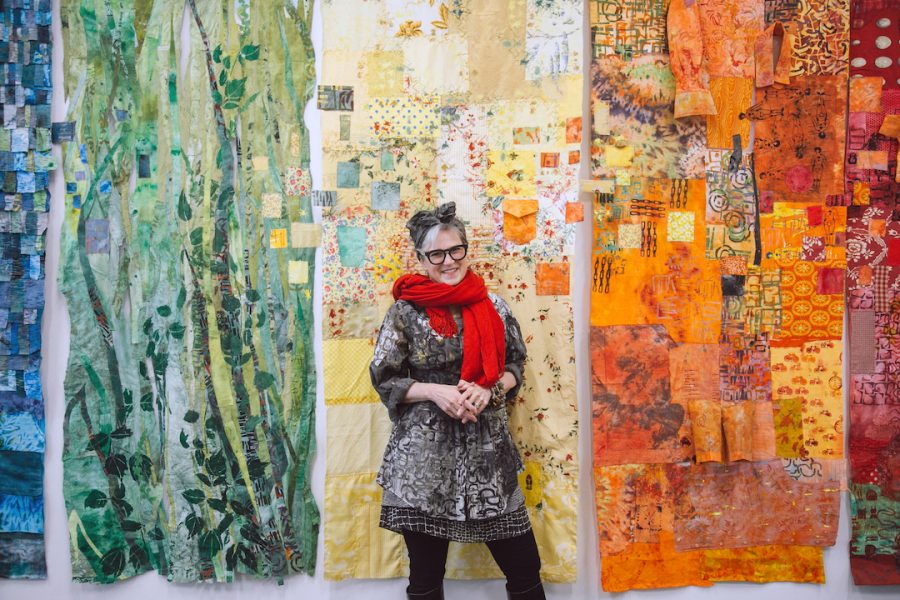
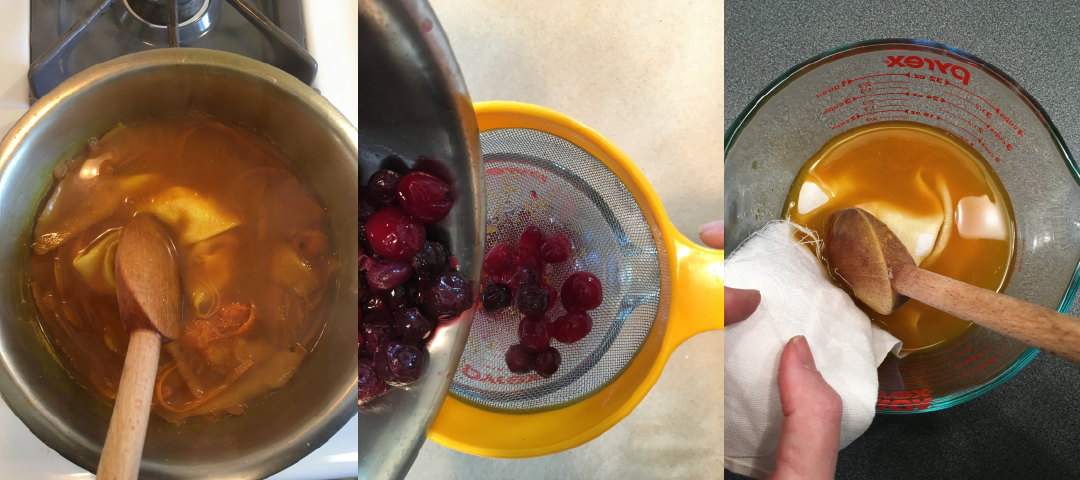
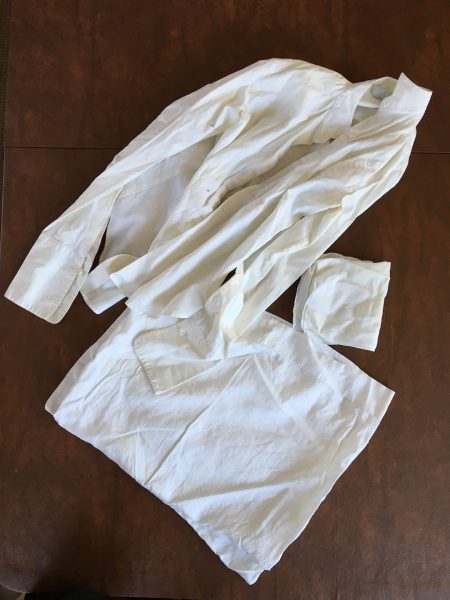
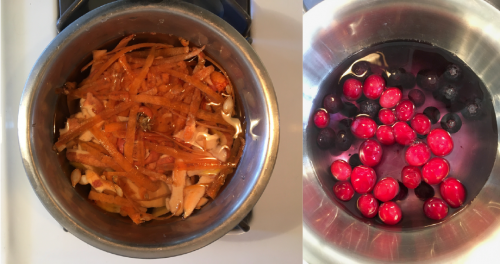
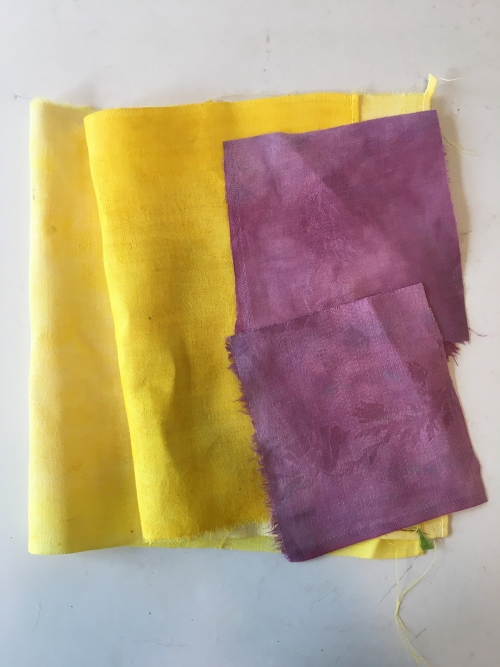
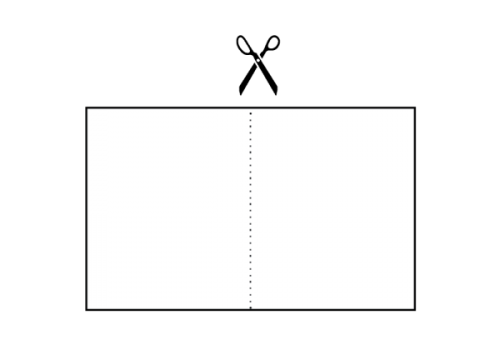
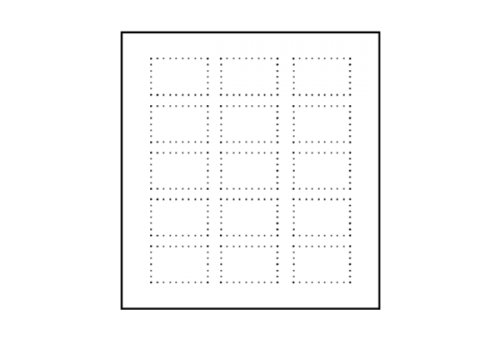
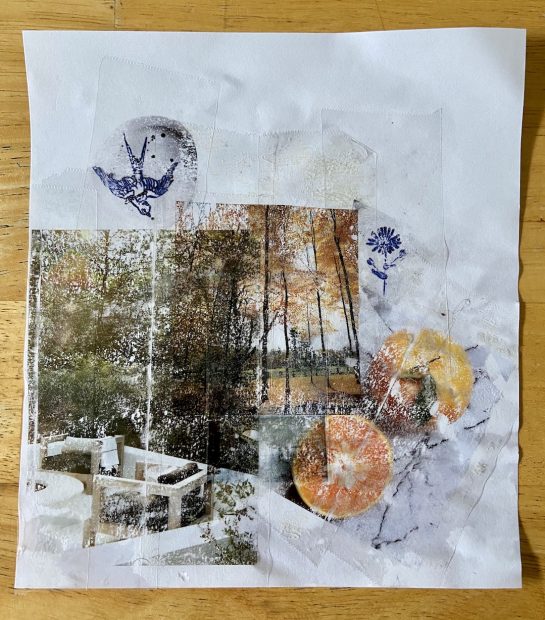
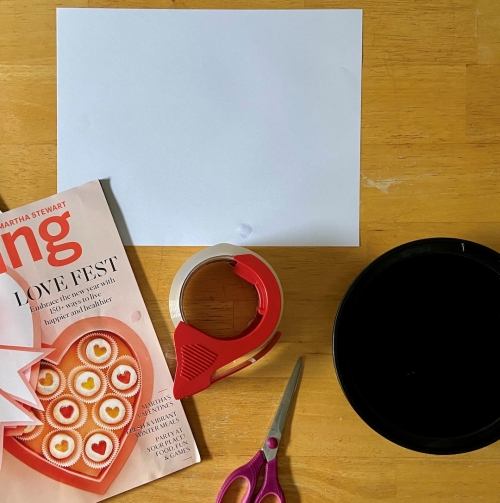
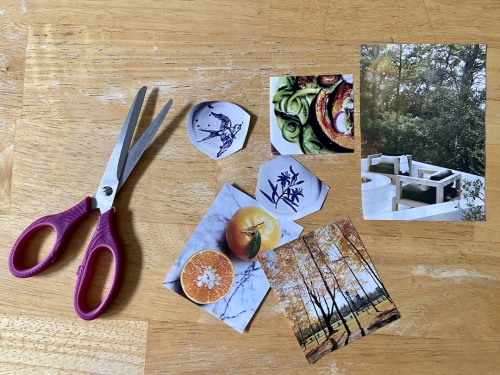
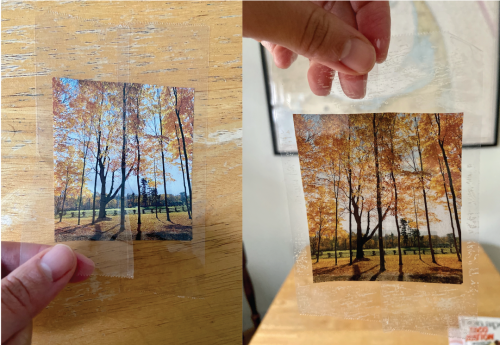
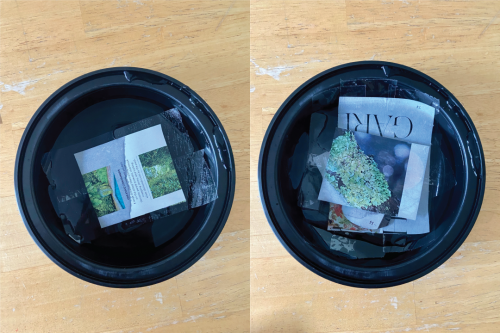
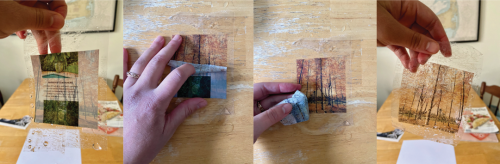
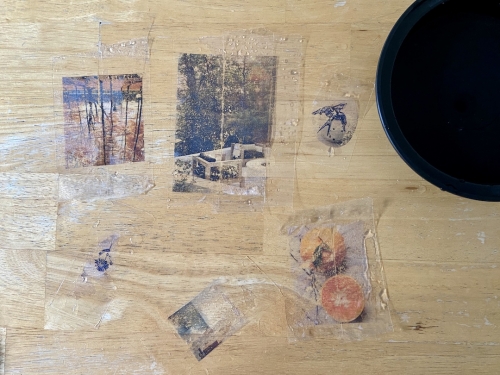
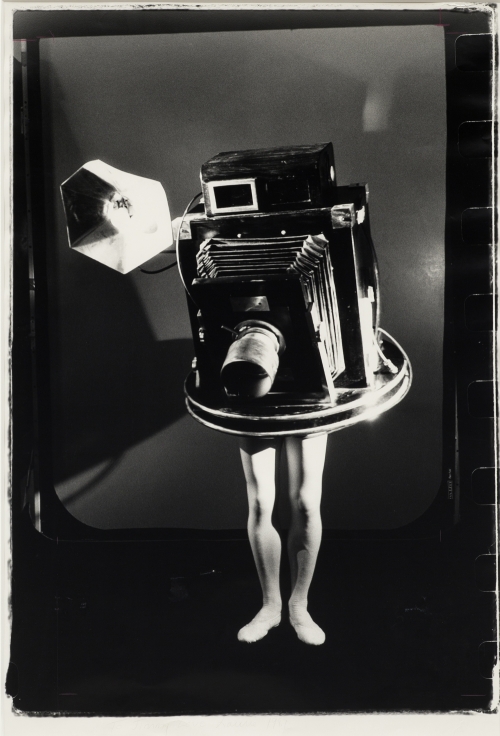
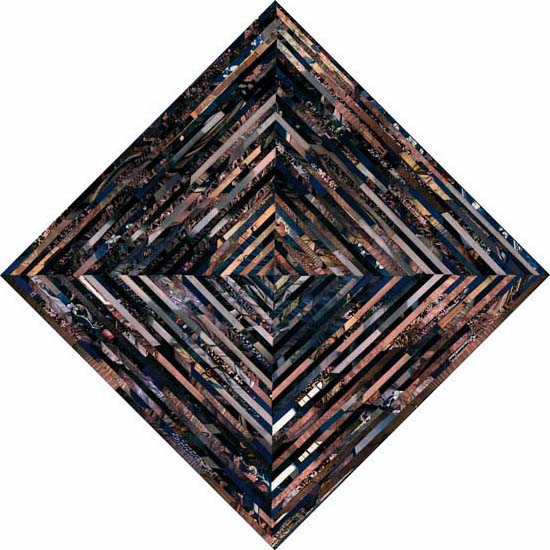
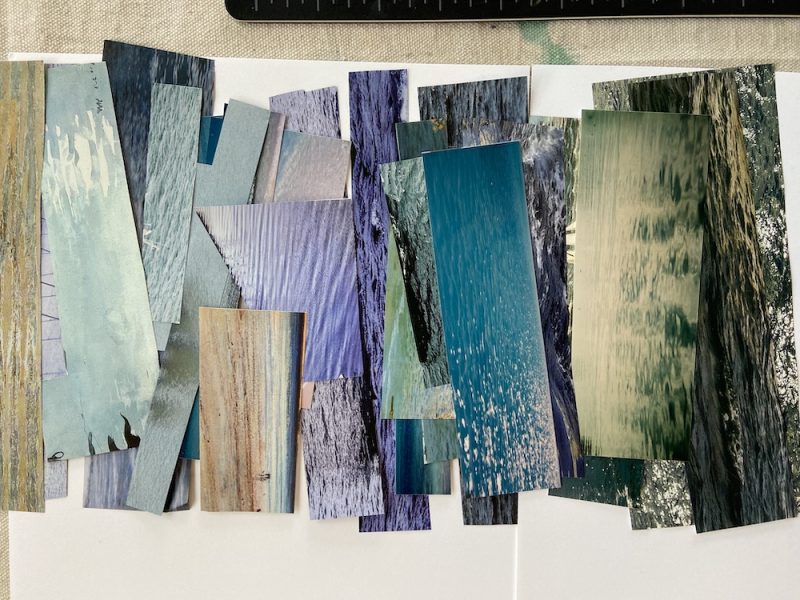
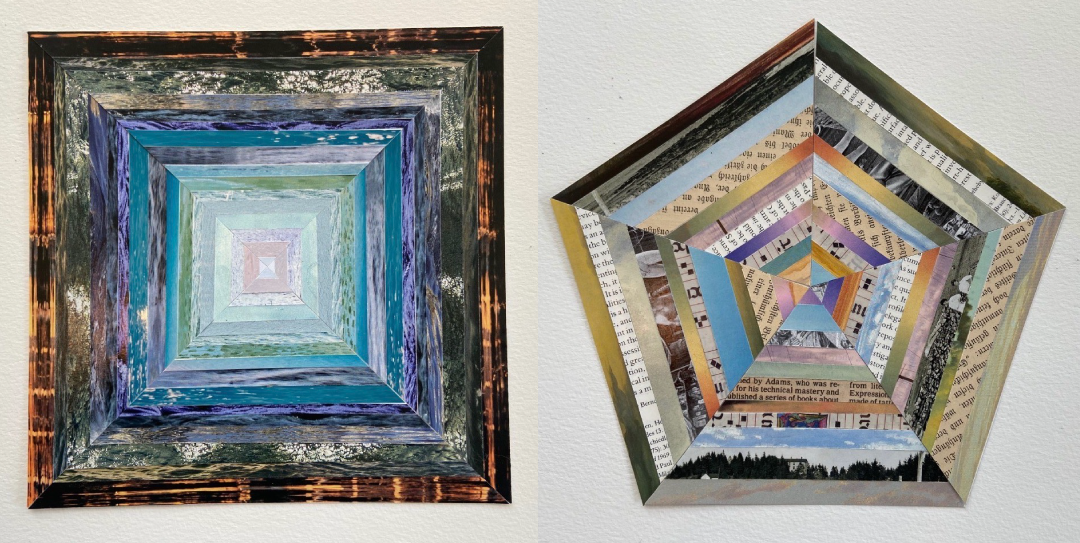
Collage with Curiosity
Faith Johnson, Arts Program Manager and Gallery Curator at the Boston Children’s Museum, walks us through how to create curiously-collaged works of art. Whether it’s photographs, paper scraps or magazine cut-outs, all you need to do is cut with scissors and stick with glue! Come back to this video any time for simple instructions to start collaging!
Learn!
Cozy up
Do you have a cozy space in your house where you can go to relax and have some quiet time? In this video, we’ll hear from Saki Iwamoto of Boston Children’s Museum, on how to construct a cozy space (whether you’re a kid or an adult — we can all benefit!), and we’ll even get to see the unique cozy spaces of several kids like you.
Your everyday parenting skills are what your child needs most
“Think of what made you and your child smile today.”
With school closures and summer camps unlikely to happen this year, parents are managing how to best support children’s mental health during this difficult time. Saki Iwamoto offers useful and invaluable insights. Read more
ICA Kids and Family programs are supported, in part, by Vivien and Alan Hassenfeld, the Hassenfeld Family Foundation, the Willow Tree Fund, Alexion Pharmaceuticals, Inc., and Raymond T. & Ann T. Mancini Family Foundation.


![Art-Lab_[KCollage]_Step[1]-combined.png](/wp-content/uploads/2023/03/art-labkcollagestep1-combined.png)
![Art Lab_[KCollage]_Step[2].jpeg](/wp-content/uploads/2023/03/art-labkcollagestep2-1.jpeg)
![Art Lab_[KCollage]_Step[4+5].jpeg](/wp-content/uploads/2023/03/art-labkcollagestep45-1.jpeg)
![Art-Lab_[KCollage]_Step[6]-combined.png](/wp-content/uploads/2023/03/art-labkcollagestep6-combined-1.png)