This activity was developed for children 3+ to create together with their caregivers and is easily adaptable for a variety of ages and interests.
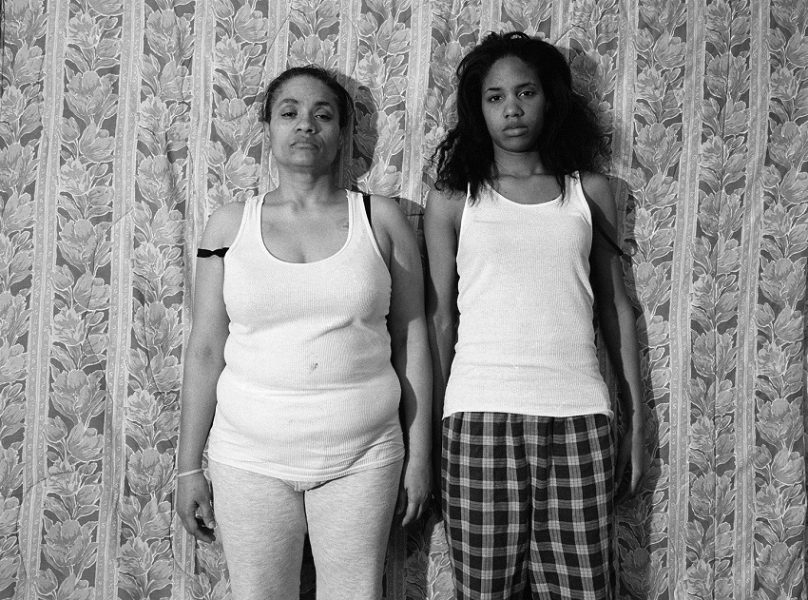
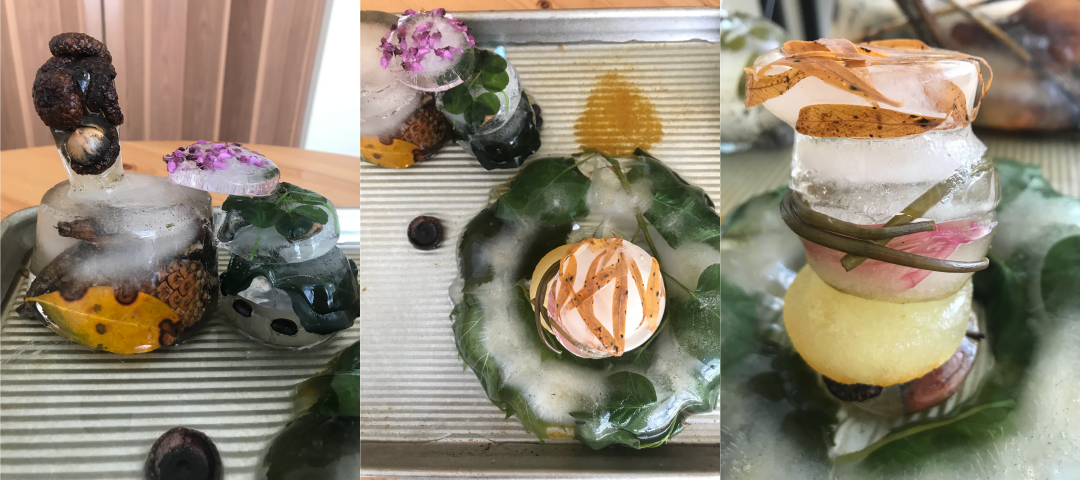
Artist Carolina Caycedo uses found objects to make artwork about rivers and the relationships that humans have with water. Caycedo thinks about the story of every objects and considers questions like, where does water come from? How do people use water now and throughout history? How are water and the environment cared for and how are they taken advantage of? Experiment with using water and found objects from around your own neighborhood to make your own frozen sculpture. As you create your frozen sculptures, look up where your tap water is sourced, find out what bodies of water you live near, and think about how you use water in and around your home everyday.
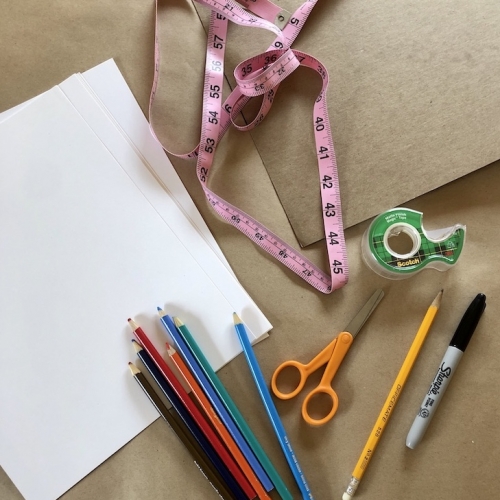
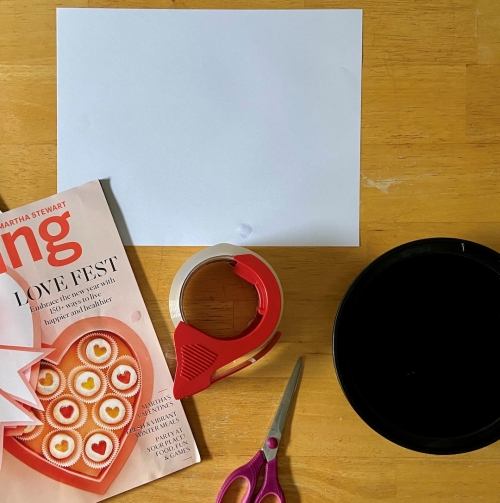
You will need:
- Assorted containers of different sizes
- Found objects from nature
- Tap water
- Space in a freezer
Additional Optional Materials:
- Food coloring
- Baking sheet or large shallow bin
- Washable paint and brushes
- Sketching supplies
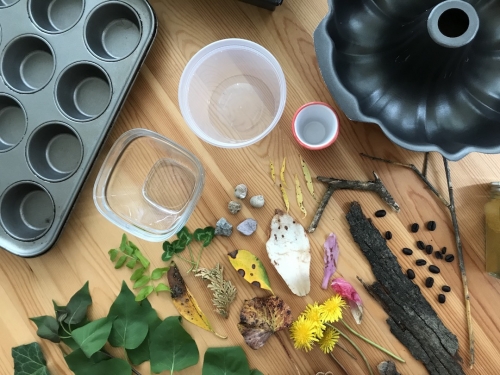
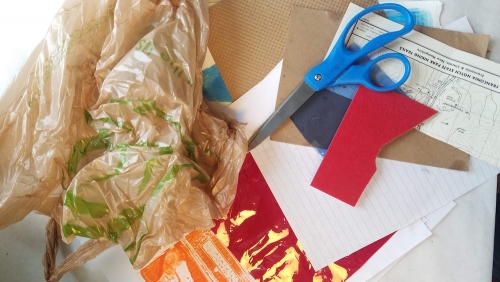
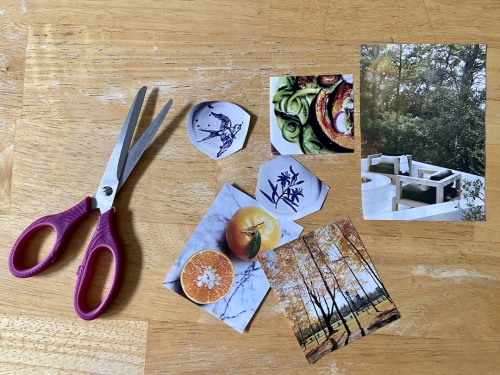
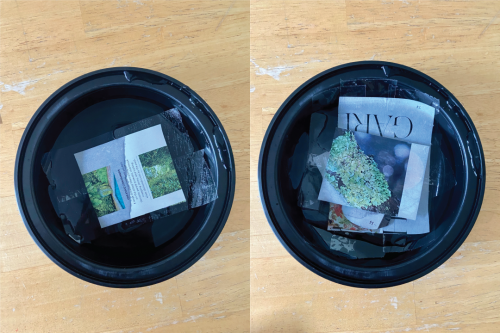
1. Go for a walk around your neighborhood and collect objects that you find from nature. Talk about why you chose them. Notice their textures and colors. Where did they come from? Why are they important?
2. Distribute your found objects among your containers. What stories do these arrangements tell about where you live?
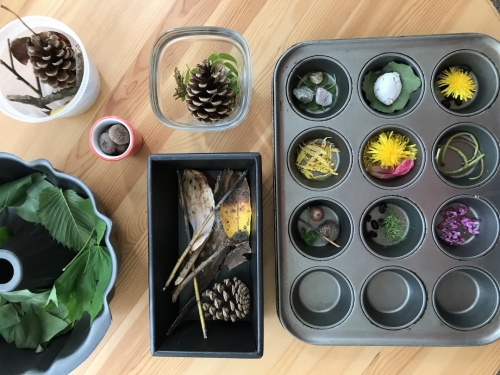
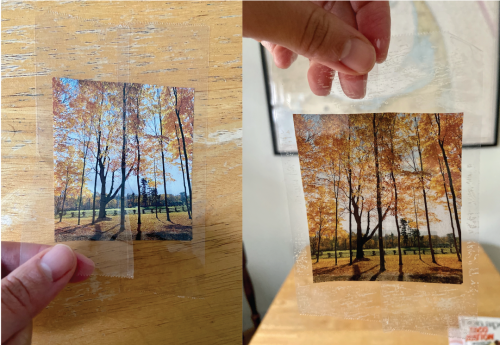
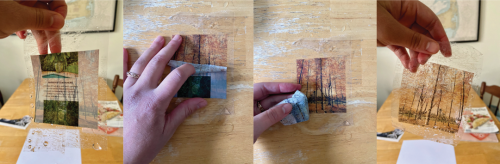
3. Fill your containers with water leaving space at the top for the water to expand as it freezes. Keep in mind that some objects will float to the top while others will sink to the bottom. If you have food coloring, add a drop to each container. Think about where you got your water. Would you consider it part of your community? Why or why not?
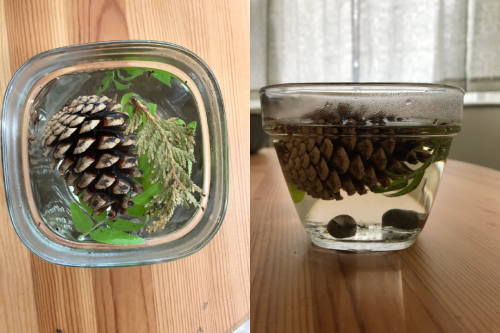
4. Place your containers in the freezer until the water freezes and becomes solid ice. What conditions are required to turn water into ice? How long did this take? Where can you find ice in nature?
5. Remove your frozen sculptures from their containers. Wiggle them free by running the container under warm water or wrapping it in a warm towel. Then flip it over and tap on the bottom. To contain the ice as it melts, consider placing your sculptures on a rimmed baking sheet, a large shallow bin, or directly on the ground outside.
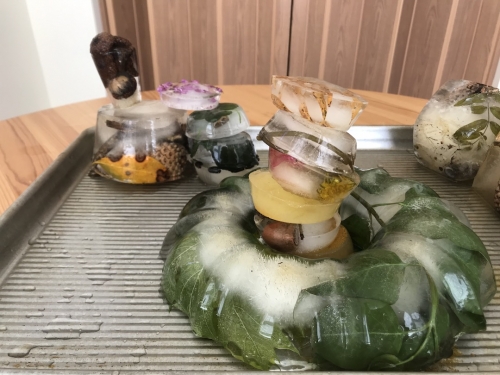
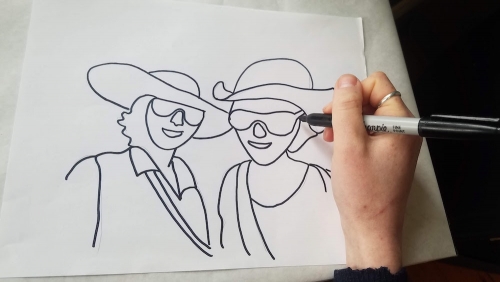
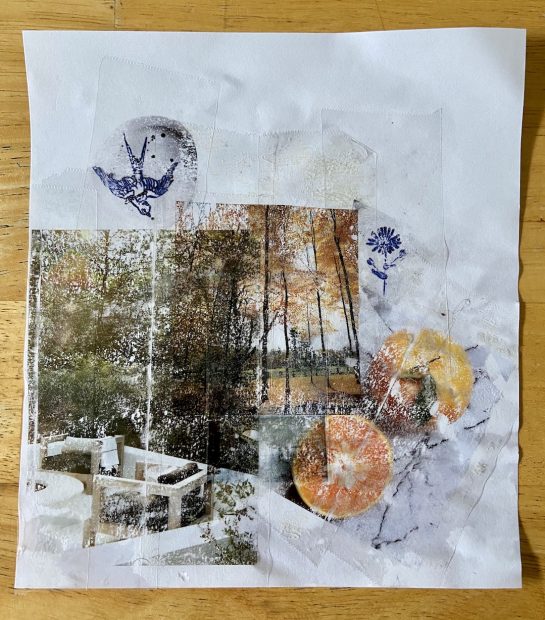
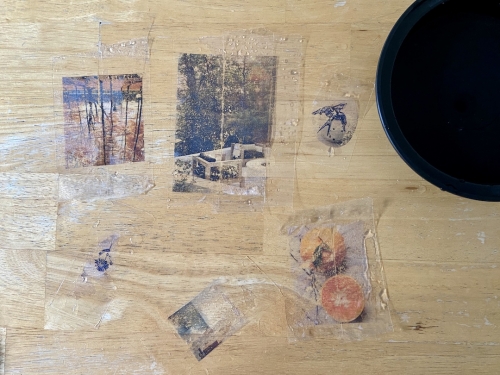
6. Build, play, create! Once emerged, notice how your found objects have changed.
- Stack your frozen sculptures on top of each other or organize in unique patterns.
- Top your ice with paint. Apply with paint brushes, kitchen spoons, or your hand s. Watch the colors move and mix as the ice melts.
- Check on your sculptures throughout the day. Document how it changes over time with sketches or photographs. What happens when you add hot water to parts of your frozen sculpture?
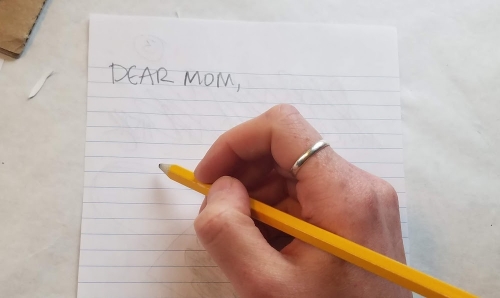
This activity was created by Alice Matthews, Visitor Assistant.


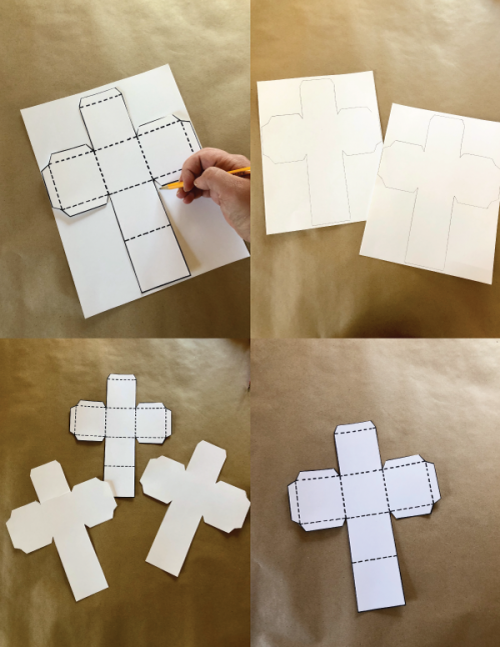
![Art-Lab_[KCollage]_Step[1]-combined.png](/wp-content/uploads/2023/03/art-labkcollagestep1-combined.png)
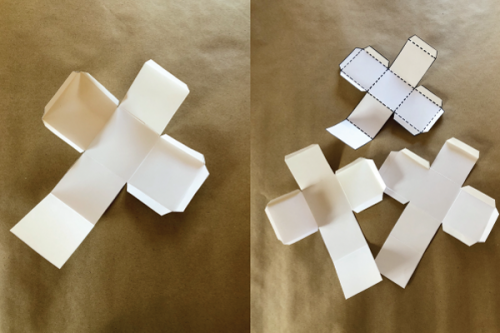
![Art Lab_[KCollage]_Step[2].jpeg](/wp-content/uploads/2023/03/art-labkcollagestep2-1.jpeg)
![Art Lab_[KCollage]_Step[4+5].jpeg](/wp-content/uploads/2023/03/art-labkcollagestep45-1.jpeg)
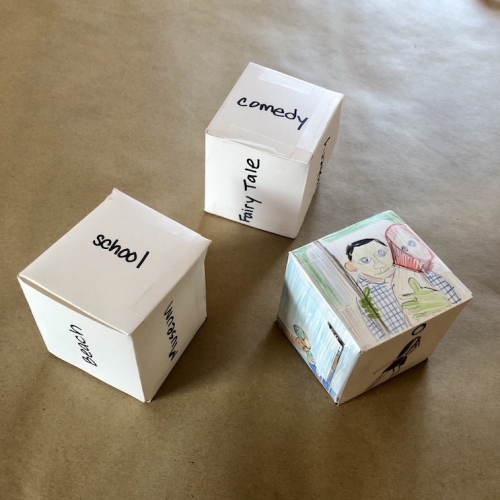
![Art-Lab_[KCollage]_Step[6]-combined.png](/wp-content/uploads/2023/03/art-labkcollagestep6-combined-1.png)