Menu
Search
Open Today
10
AM
– 5
PM
Donate
ICA Store
Buy Tickets
Directions
Visit
Exhibitions
Calendar
View All
ICA Live
Film
First Fridays
ICA Kids
Talks + Courses
Art + Artists
Collection
Video + Audio
Publications
Teens
Join + Give
Support the ICA
Donate Now
Membership
About
Open Today
10
AM
– 5
PM
Donate
ICA Store
Instagram
Facebook
ICA Teens
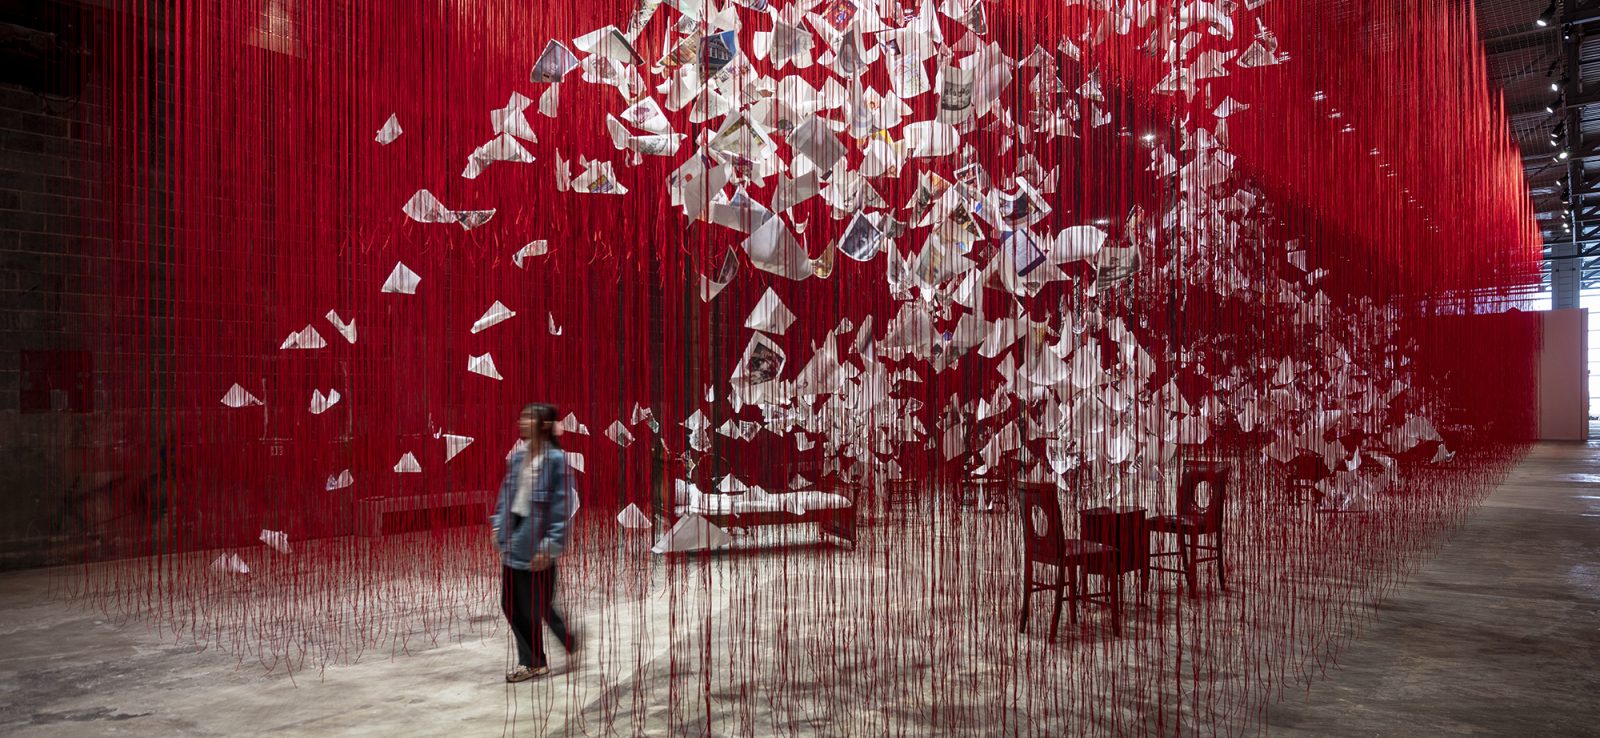
On View
Chiharu Shiota: Home Less Home
May 22 – Sep 1, 2025
Visit the exhibition
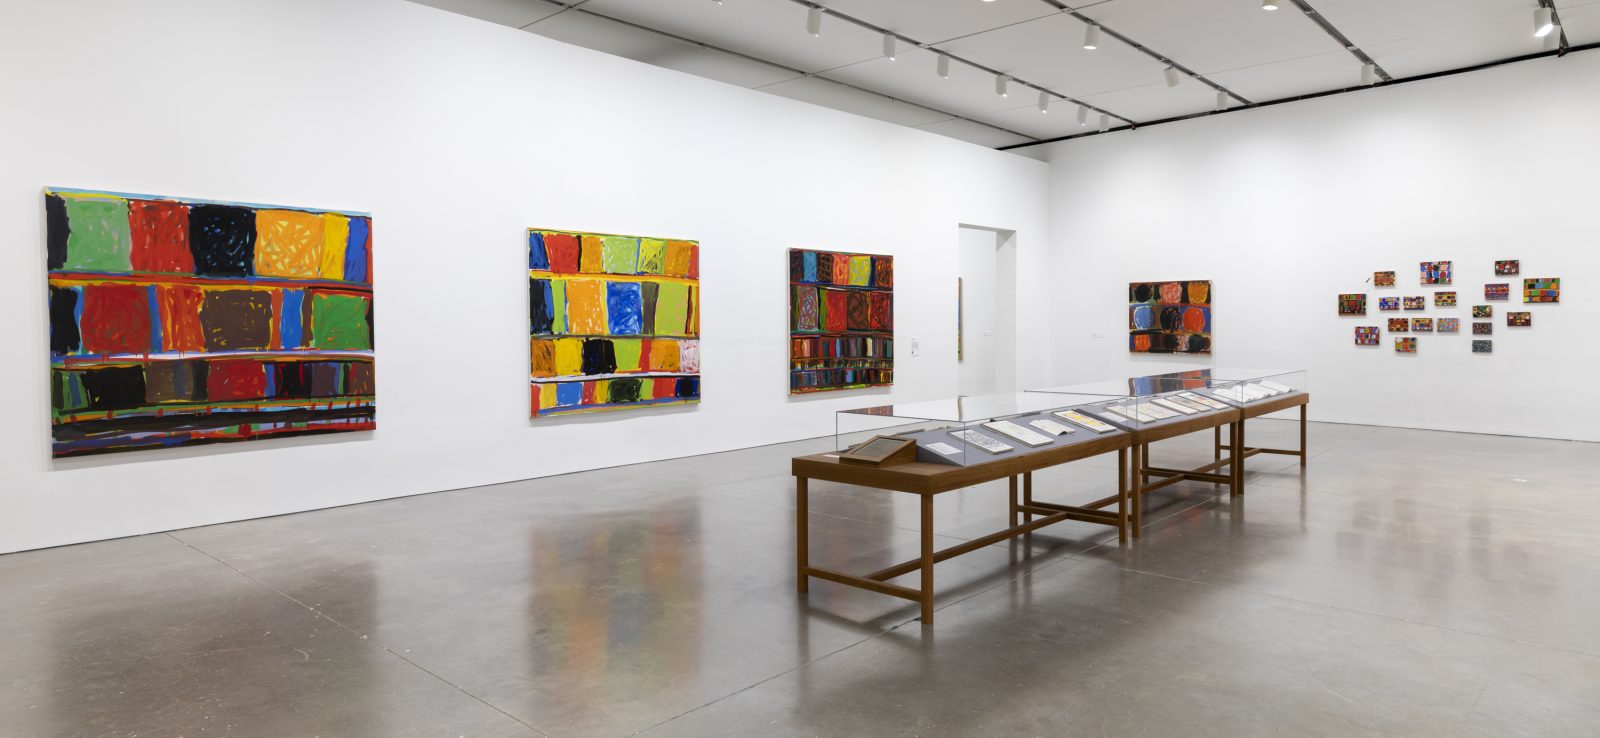
On View
Stanley Whitney: How High the Moon
Apr 17 – Sep 1, 2025
Visit the exhibition
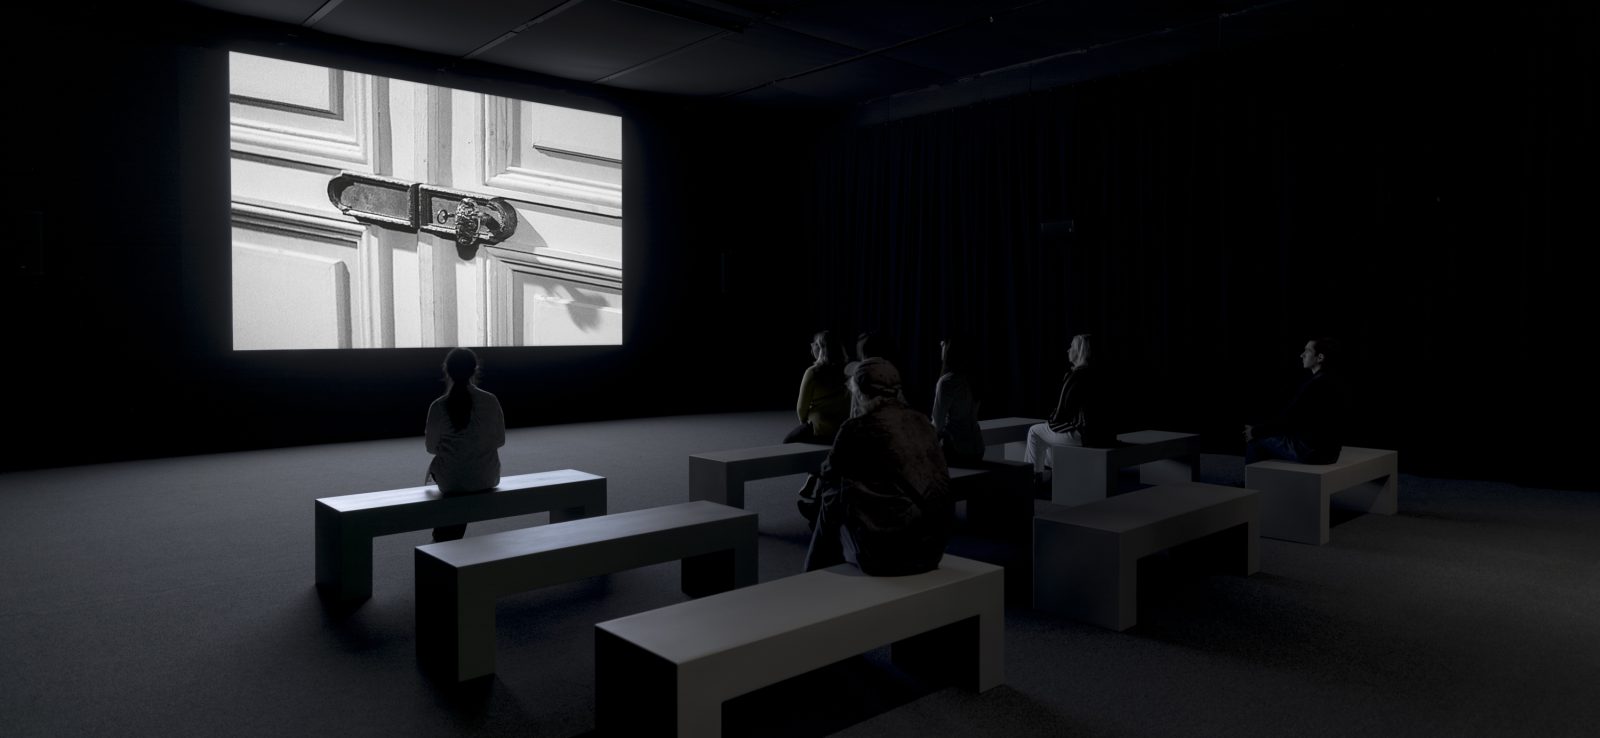
On View
Christian Marclay: Doors
Apr 17 – Sep 1, 2025
Visit the exhibition
On View
Believers: Artists and the Shakers
Feb 13 – Aug 3, 2025
Visit the exhibition
On View
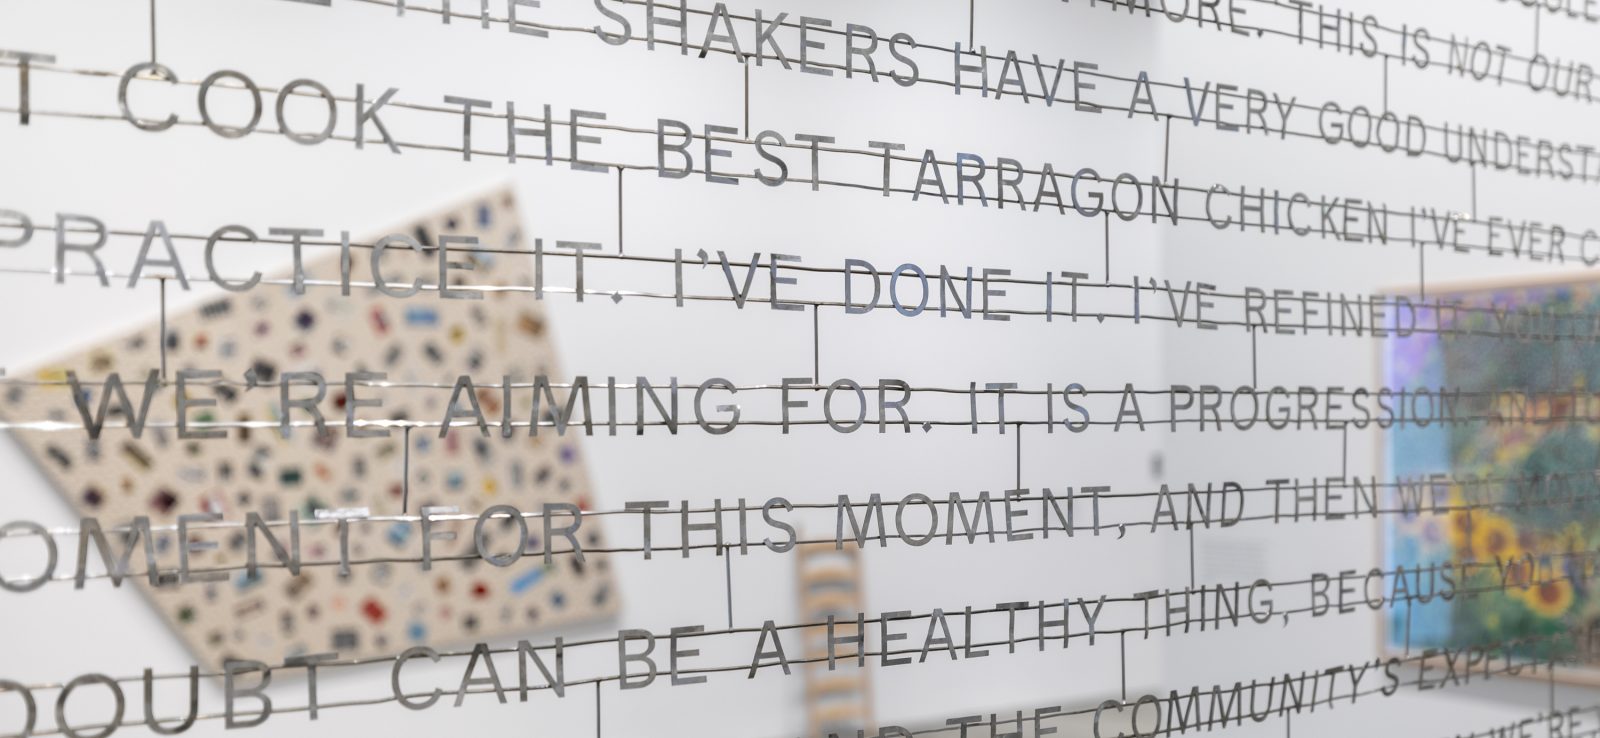
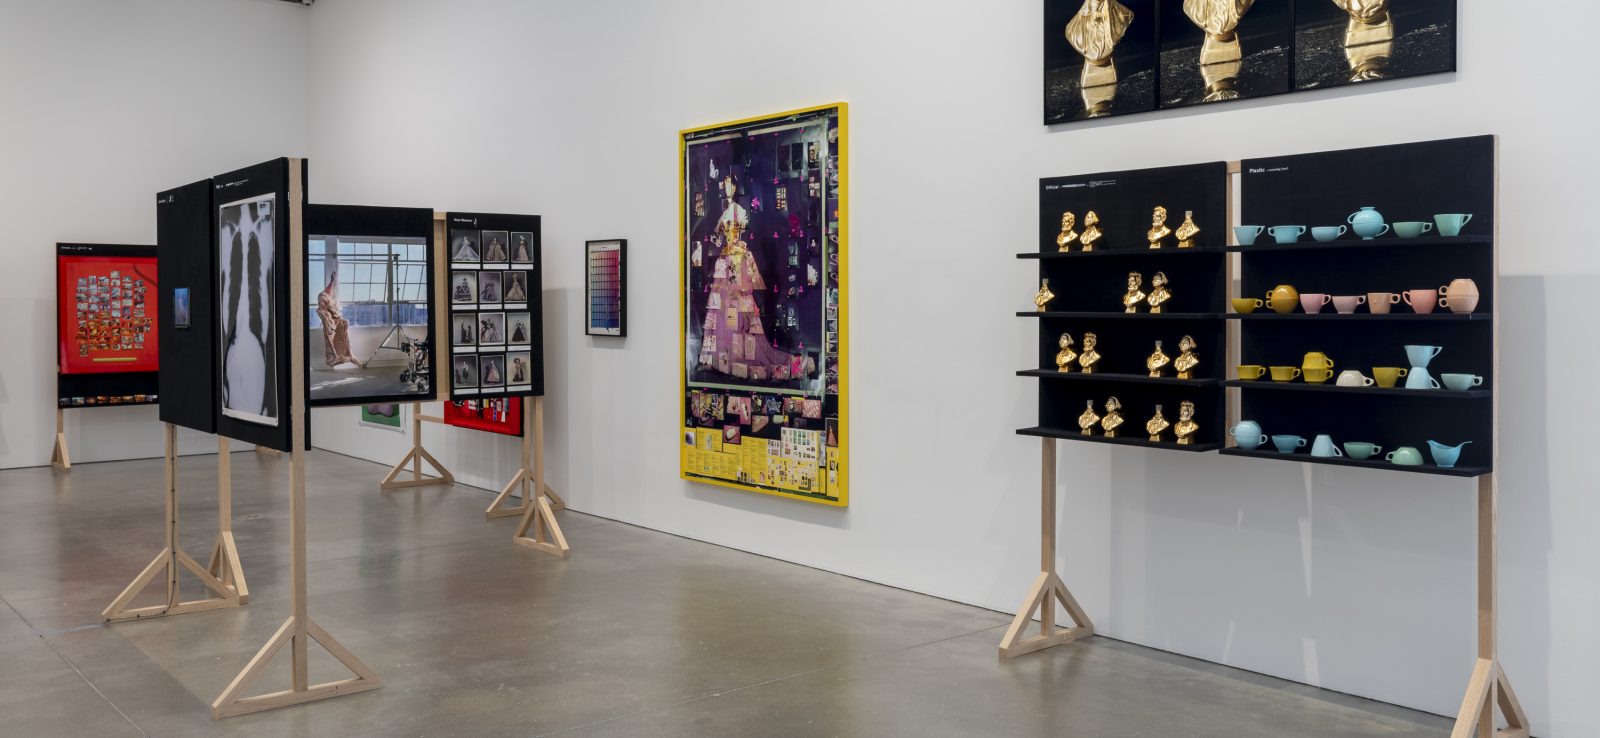
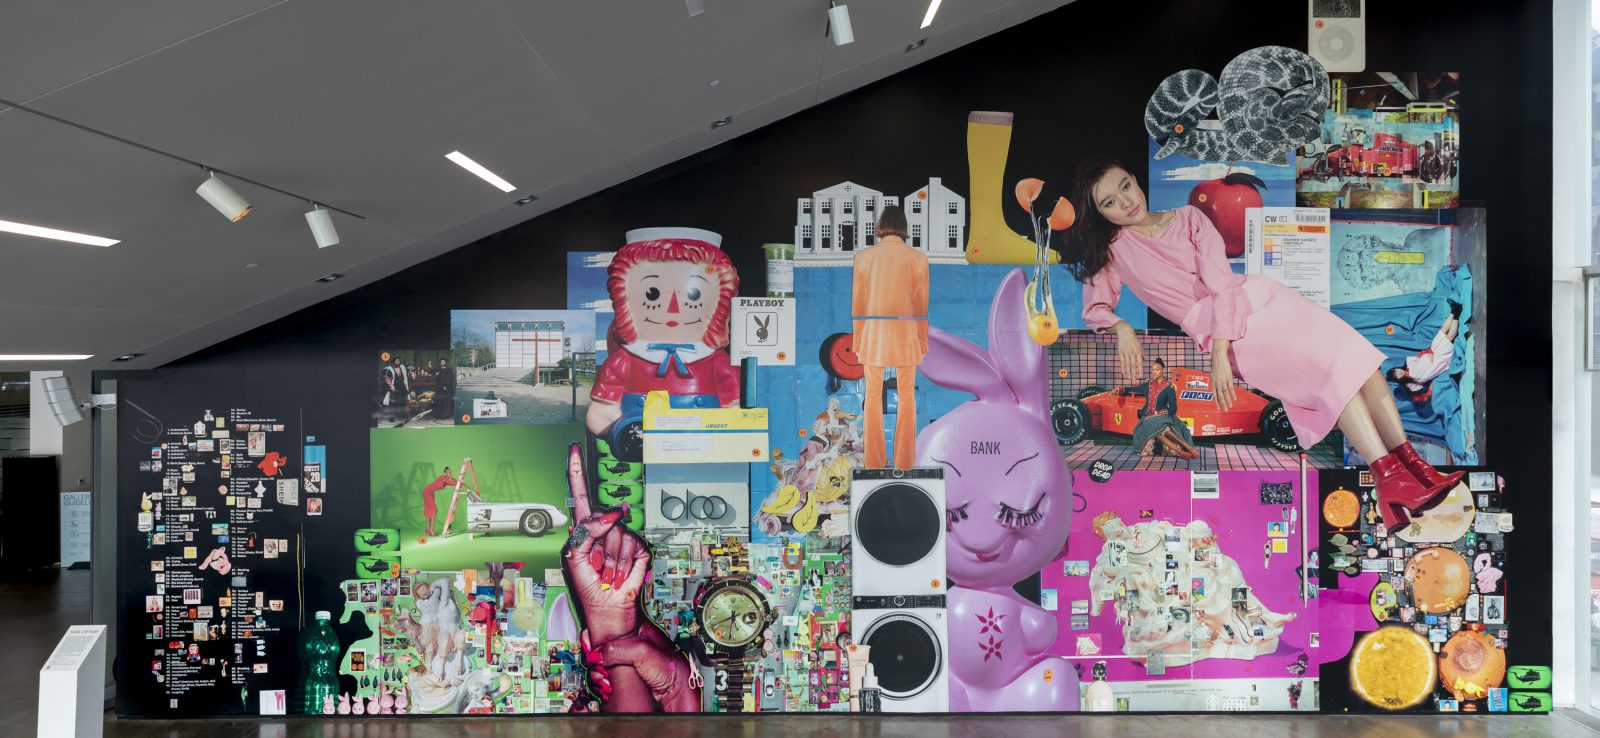
Sara Cwynar: Alphabet
Feb 13 – Aug 3, 2025
Visit the exhibition
On View
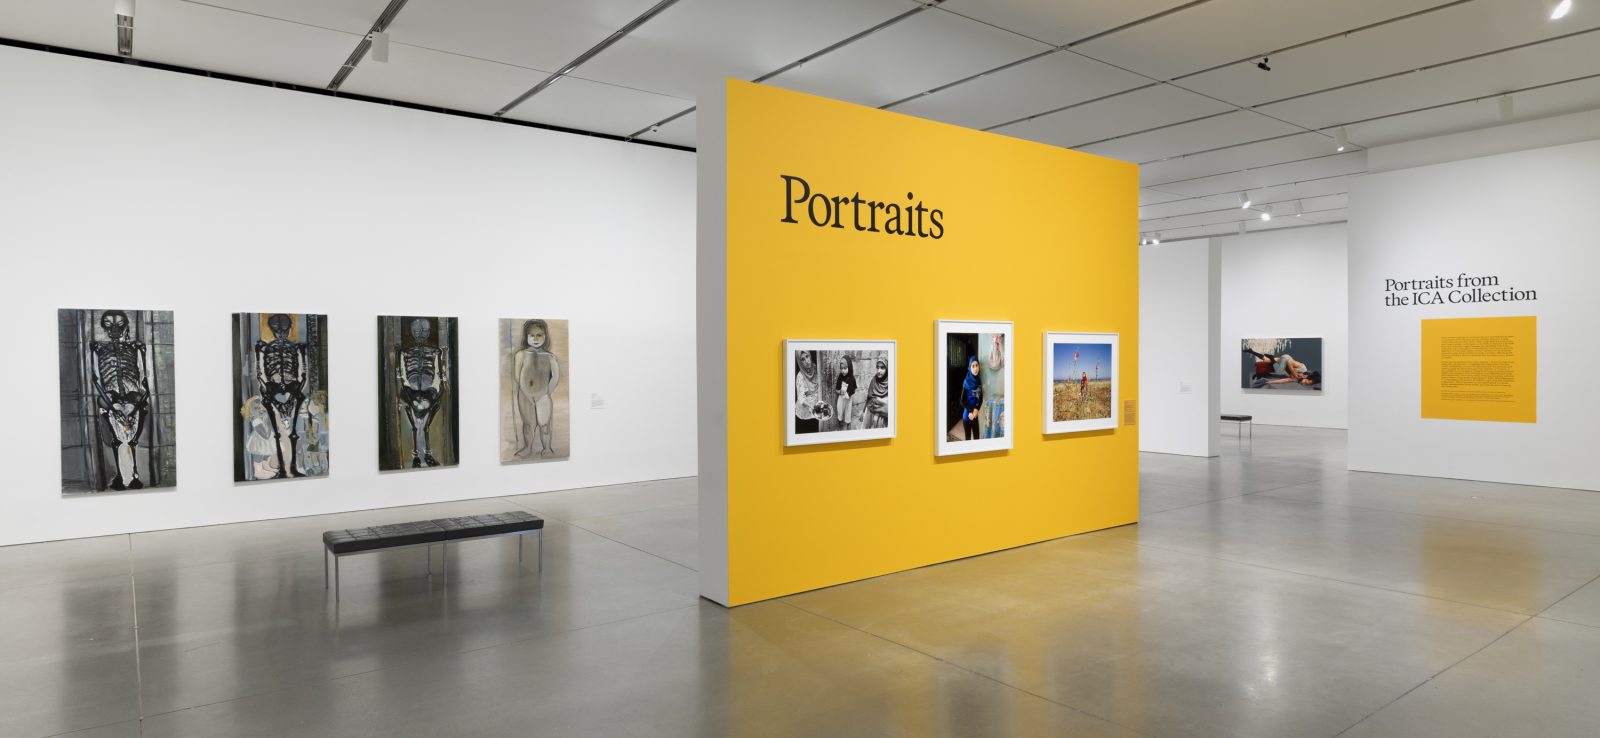
Portraits from the ICA Collection
Jan 25, 2025 – Jan 4, 2026
Visit the exhibition
On View
Sara Cwynar
Feb 7 – Sep 7, 2025
Visit the exhibition
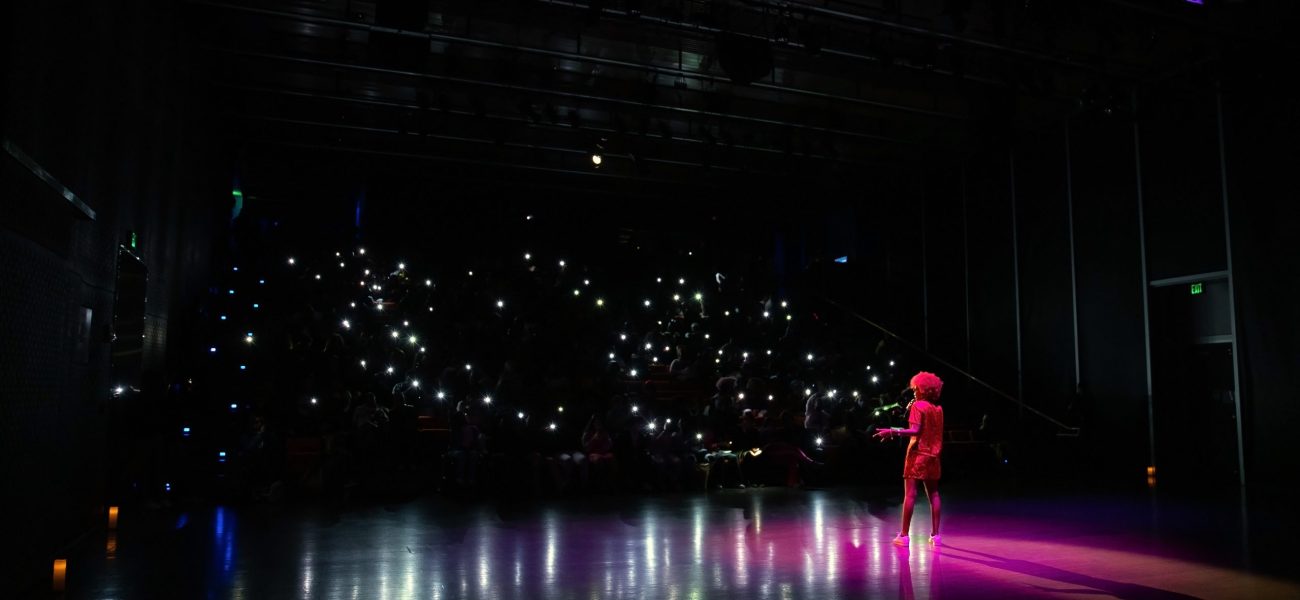
On View
Our Memories, Our Stories
May 22 – Sep 1, 2025
Visit the exhibition
ICA Collection
Free Admission for Youth
The
ICA
is committed to providing access to the art and artists of our time. See how you can help.
ICA Teens
On View
Chiharu Shiota: Home Less Home
May 22 – Sep 1, 2025
Visit the exhibition
1
2
3
4
5
6
7
8
9
10
11
Harborwalk Sounds
Vinyl Nights
ICA Watershed
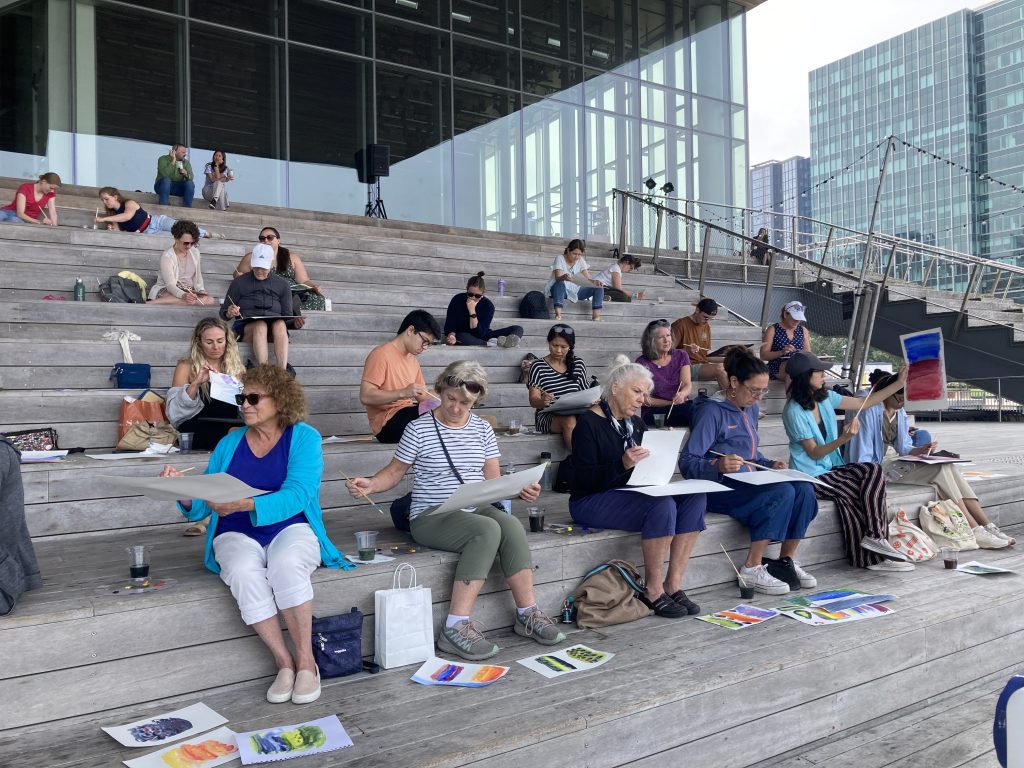
Watercolor by the Water
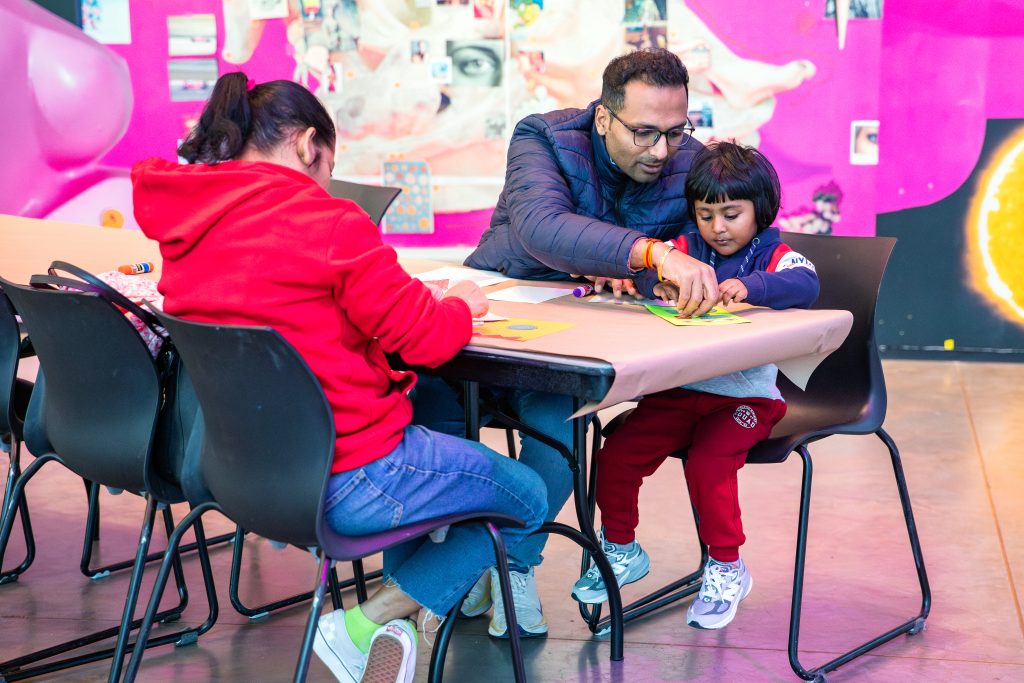
Play Date: Free Family Art Day
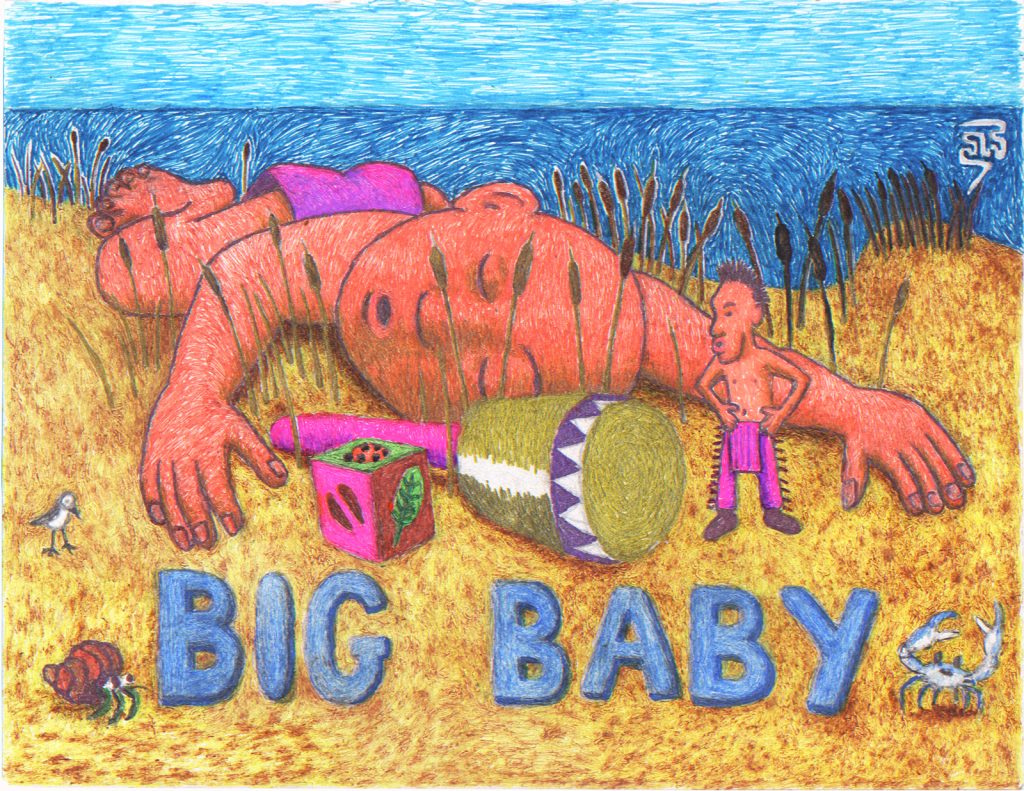
Big Baby: A Story of Maushop
Boston Family Days
ICA Free Thursday Night
ICA Store
ICA Wine + Coffee Bar
ICA Benefit for Chase Cardholders
Bank of America Museums on Us
ICA Digital Guide
+1 Membership: A free ICA membership program for youth 0-18